• Skip to primary navigation
  • Skip to main content
  • Skip to primary sidebar
  • Skip to footer

How Did You Cook That

  • Recipes
    • Main Dishes
      • Street Corn Soup
      • Maple Ginger Chicken and Asparagus
      • Homemade Gnocchi with Garlic and Parmesan
      • Loaded Baked Potato Soup
      • Beef Bourguignon
      • Grilled Salmon Tacos
      • Thai Inspired Shrimp Curry Soup
      • Chicken and Sausage Gumbo
      • Cast Iron Skillet Pizza
        • Vegetarian
          • Creamy Sweet Potato Curry
          • Pan Tossed Vegetarian Noodles
          • Zucchini & Mushroom Bucatini
          • Stir Fried Baby Bok Choy
          • Roasted Red Pepper and Tomato Soup
          • Potato Leek Soup
          • Portobello “Steak” and Potatoes
          • Cheesy Cauliflower & Carrot Soup
    • Companions
      • Roasted Garlic Tomatoes with Thyme
      • Crisp Green Salad with Sweet Honey Vinaigrette
      • Zucchini Fritters
      • Easy Flat Bread
      • Animal Style French Fries (Copy Cat Version)
      • Cheesy Jalapeno Cornbread
      • Buffalo Cauliflower Bites
    • Breakfast
      • Chilaquiles Rojos with Eggs
      • Sour Cream and Onion Biscuits
      • Dutch Baby with Blueberries
      • Blueberry Lemon Muffins with Streusel Topping
      • Egg In A Jar
      • Creamy Acai Bowls
      • Baked Irish Oats with Cream
      • Fluffy Buttermilk Pancakes
      • Original French Crepes
      • Vanilla Spiced Overnight Oats
      • Seriously Delicious Waffles
      • Southern Buttermilk Biscuits
    • Sauces
      • Creamy Thousand Island Dressing
      • Spicy Mango Salsa
      • Favorite Avocado Recipes
      • Loquat Marmalade
      • Adobo Chile Aioli
    • Desserts
      • Number One Ice Cream
      • Loaded Trail Mix Cookies
      • Toasted Candied Pecans
      • Angel Food Loaf Cake
      • Easy Banana Zucchini Bread
      • Triple Chocolate Cake with Whipped Ganache Frosting
      • Key Lime Cheesecake
      • Cinnamon Sour Cream Coffee Cake
      • Zach’s Chocolate Chip Cookies
      • Strawberry Rhubarb Galette
      • Spiced Cheesecake
      • Berry Fruit Crumble
      • Banana Cinnamon Crunch Bread
    • Thirst Quenchers
      • The Forager Cocktail
      • Cucumber Cilantro Gin Tonic
      • Sunrise Glow Smoothie
      • Three Day Ginger Beer
  • Experiences
    • Los Angeles Pop Ups – Zoe Food Party
    • Los Angeles Bread Crawl
    • The Great Outdoors (A Basic Pantry List)
  • Food Muse
    • A Note About Sugar
    • No More Plastic!
    • Best Buttermilk Substitutions
    • Prepping and Storing Cilantro
    • Home Roasted Coffee
  • Sugar Loaf
    • How to Feed a Sourdough Starter
    • Sourdough Pancakes
    • Sourdough Country Bread Loaf
  • About
  • Navigation Menu: Social Icons

    • Facebook
    • Instagram

How Did You Cook That

Best Buttermilk Substitutions

February 26, 2020 by How Did You Cook That

Lemons
Saco Buttermilk Powder
Fluffy Buttermilk Pancakes

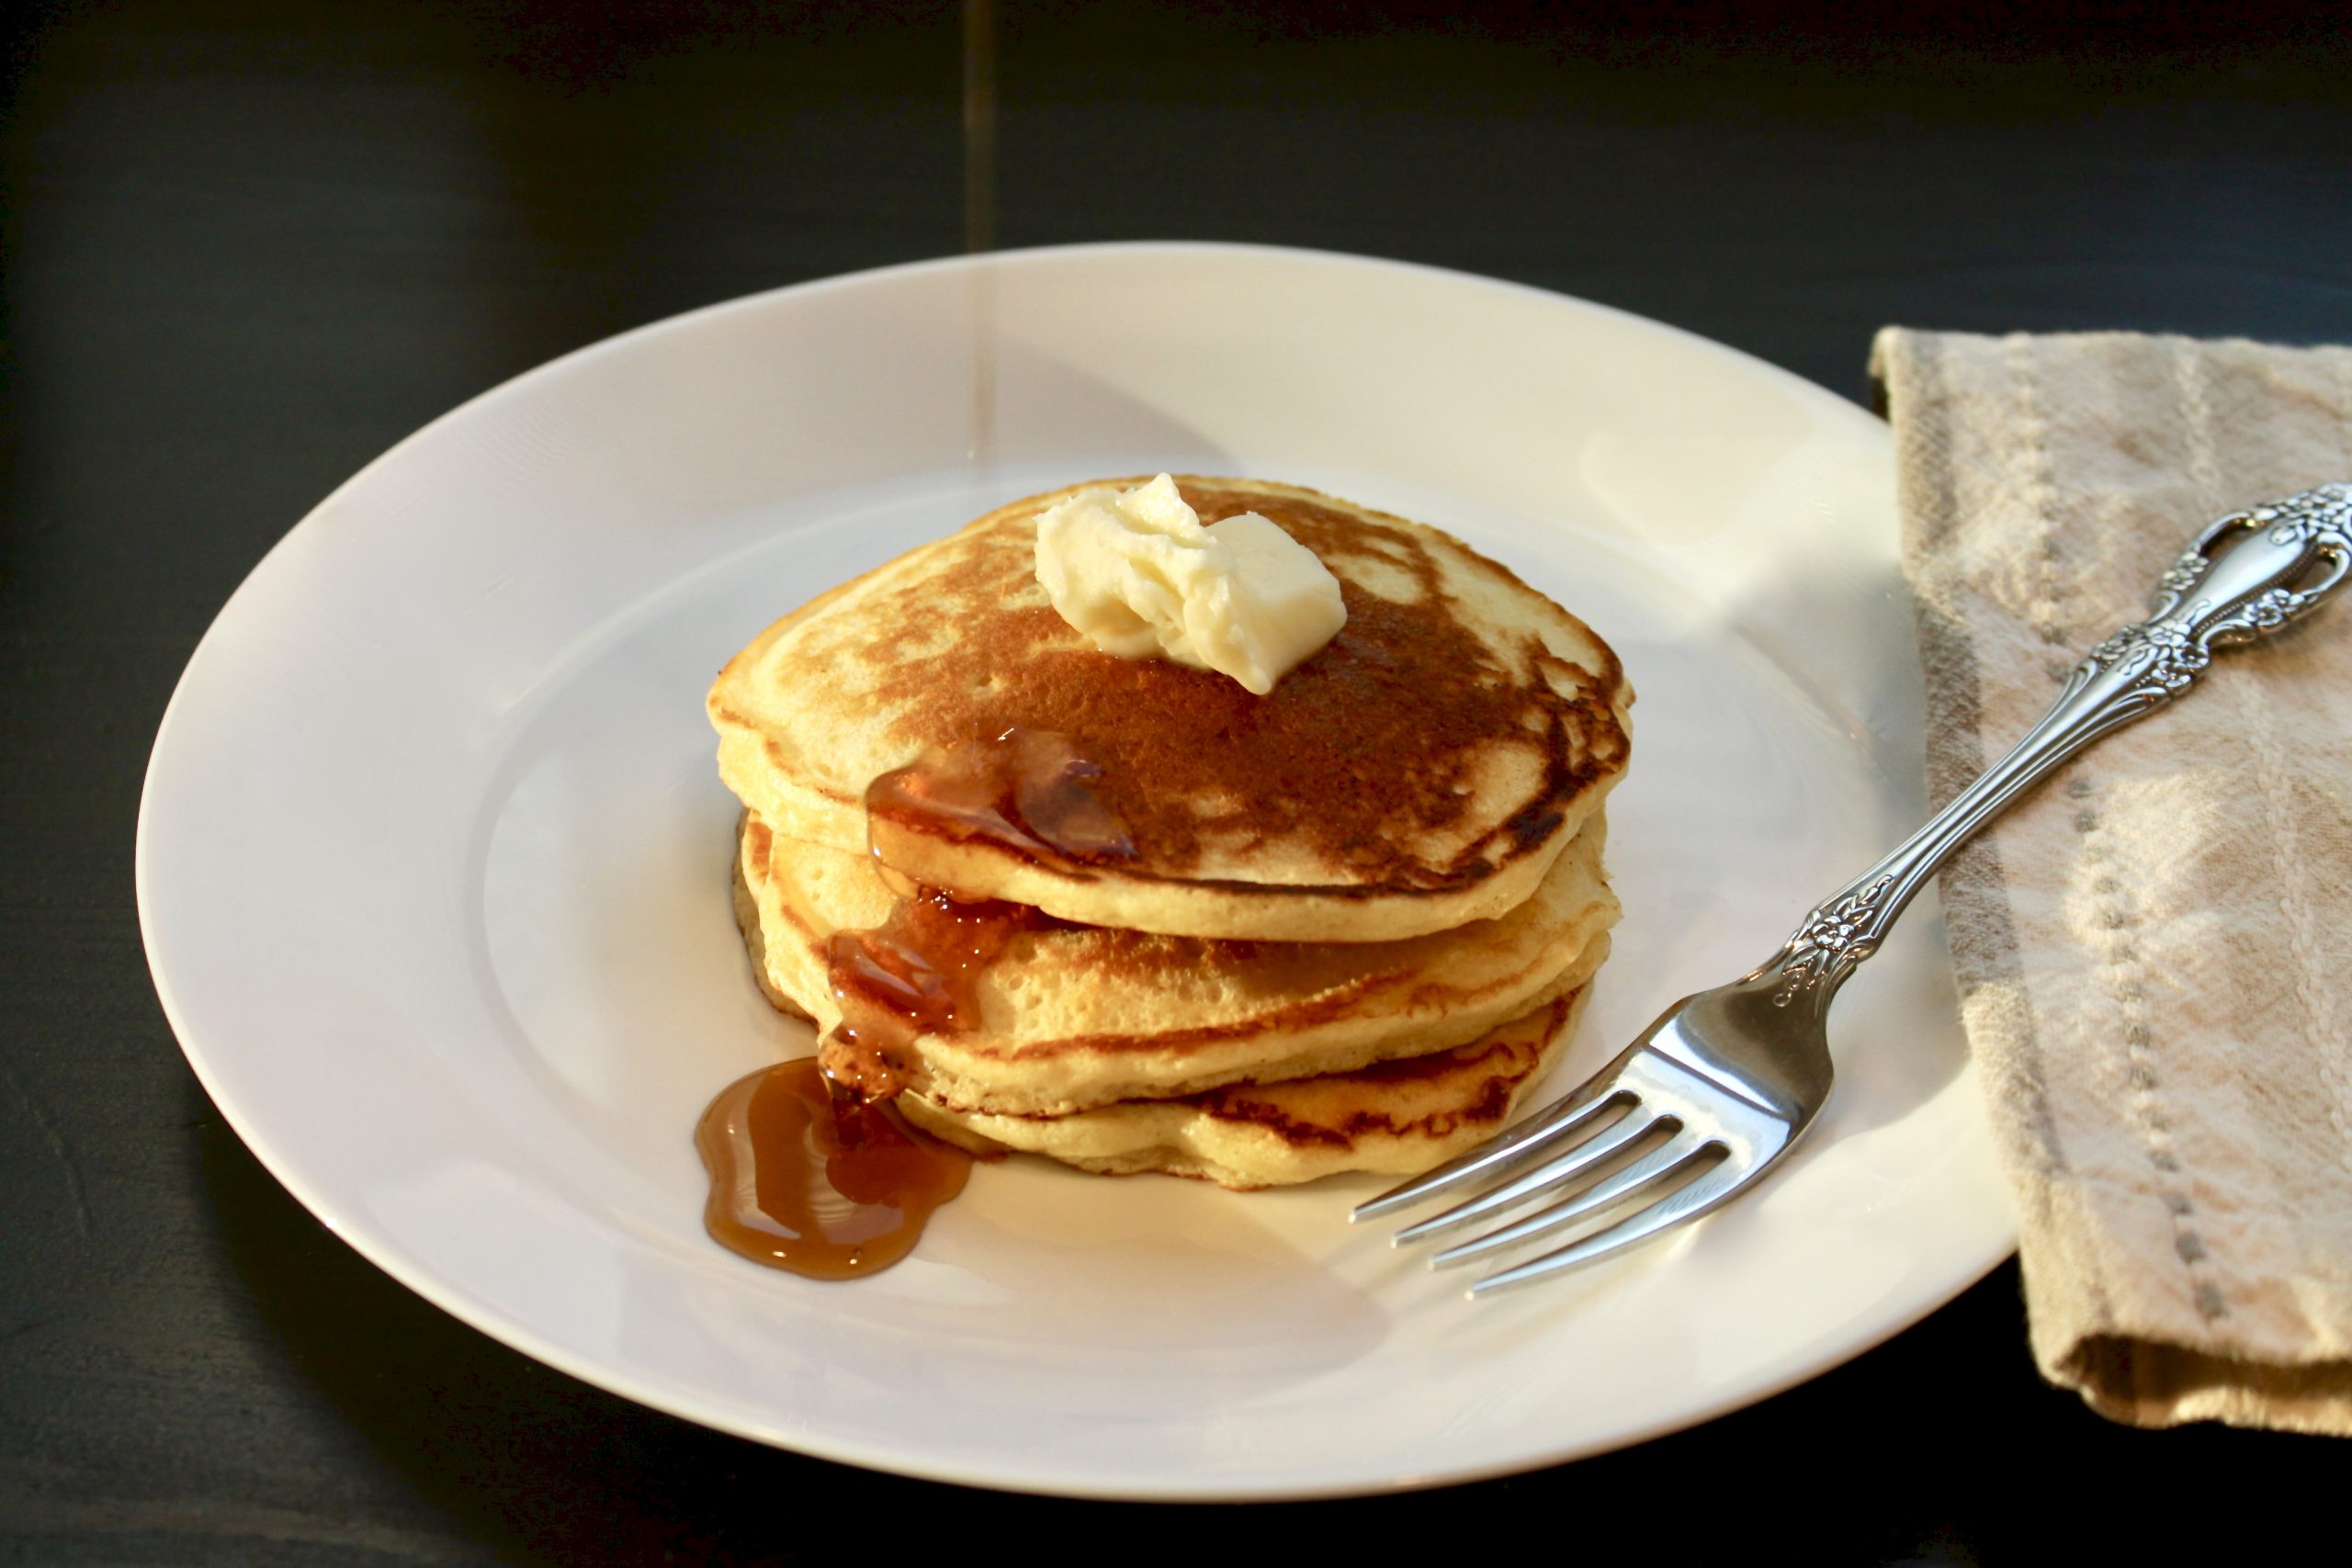
Alright, so you’re up early in the morning, the coffee is brewing and you’re halfway through your prep for a big bowl of pancake batter. Your house guests will feel so loved!

And then, you discover, there is no buttermilk to be found anywhere in the kitchen. Oh no! This recipe will be so average without buttermilk! Running to the store is not an option. What to do?

First, what is buttermilk and why is it important to this recipe?

Buttermilk is the liquid that is left behind after butter is churned from cream; kind of like skim milk. It’s lower fat than cream, full of flavor and has a sourdough-like tang. It’s a darn delicious acidic addition to recipes and it works like leaven to give your favorite cakes some lift.

Here are some options if you are plum out of the real thing.

  1. Check your produce drawer and see if you’ve got a lemon in there. Add a Tablespoon of lemon juice to a cup of milk and give it a good stir. Let it sit for a couple of minutes until the milk has curdled a bit and there you have it, a substitute for that fluffy pancake recipe.
  2. If you’re out of lemons, look for a cup of plain yogurt. Greek or regular are both fine. Mix 3/4 cup plain yogurt with 1/4 cup milk and you’re good to go.
  3. If you bake, you may have a tin of Cream of Tartar in your spice cabinet. Grab that. Whisk 1 3/4 tsp Cream of Tartar with 1 cup of milk. Pour the milk in slowly while whisking to keep the Cream of Tartar from getting clumps.
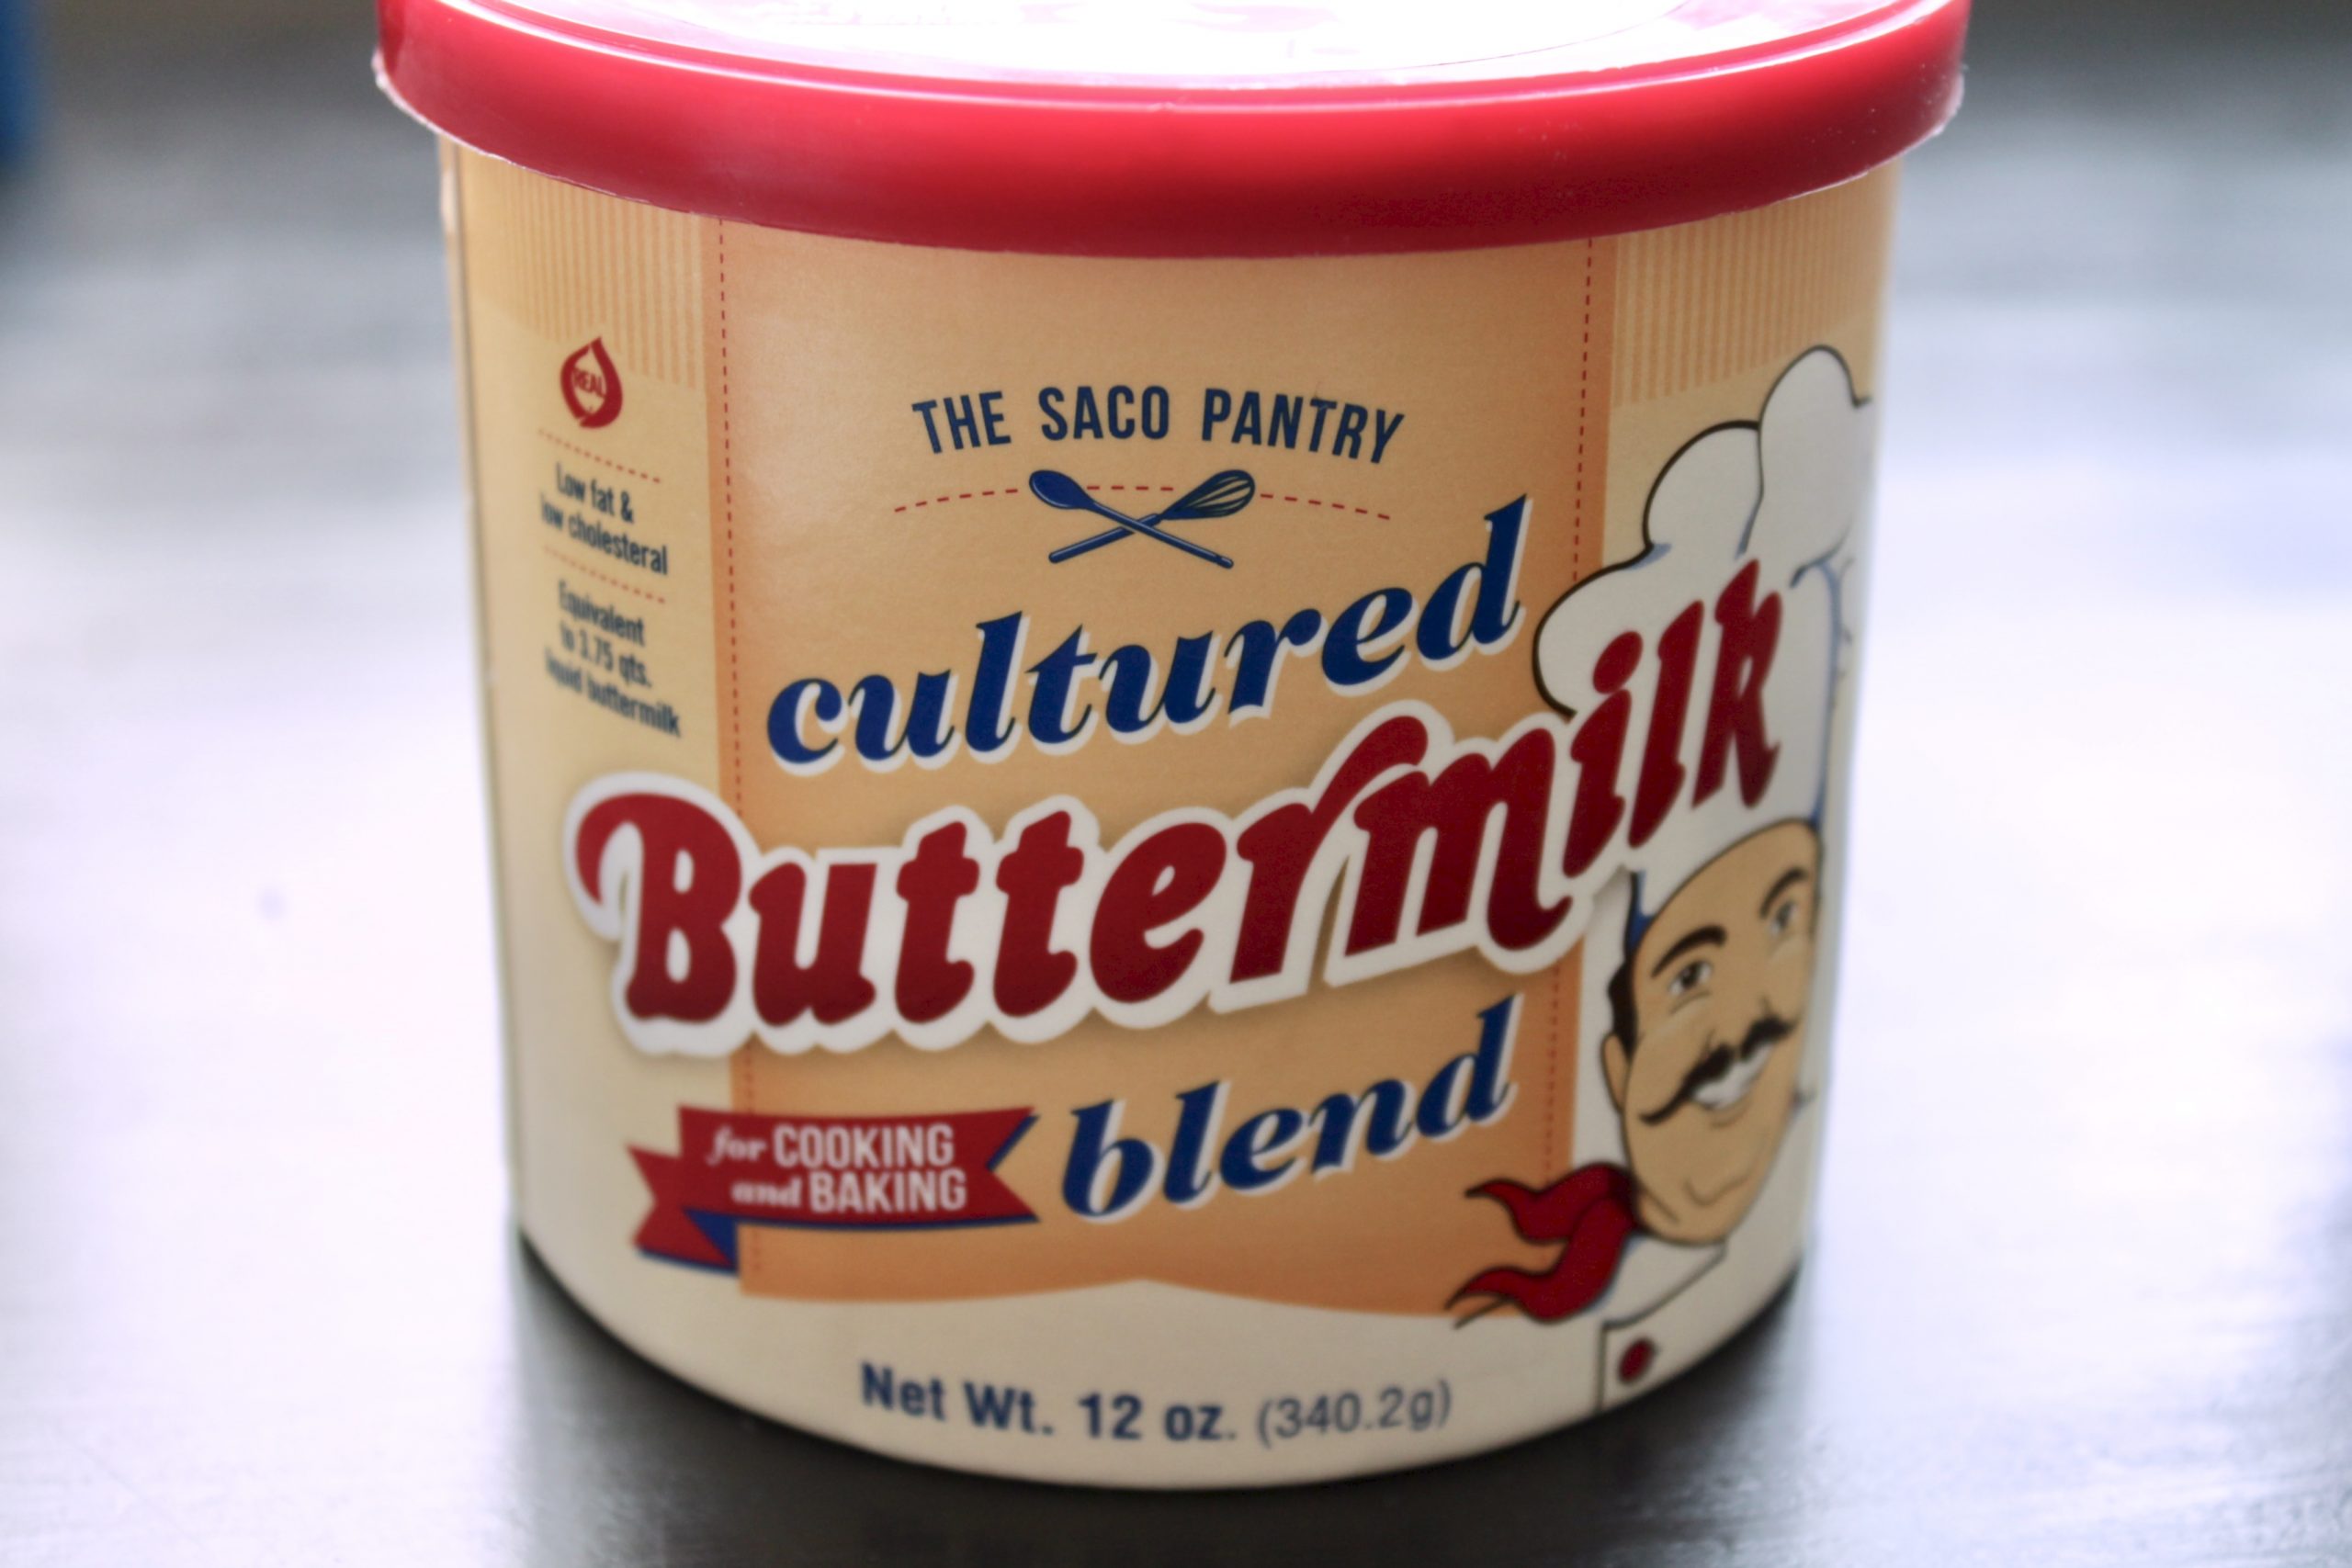
  4. Always stock a can of Saco Cultured Buttermilk Blend powder (My favorite option.) in your pantry. As soon as you open it, you’ll need to refrigerate it. You do not need milk for this substitute either. Just mix it up with water, according to the measurement instructions on the side of the can. A can of Seco lives in my refrigerator full time and gets plenty of use.

Now go make those Fluffy Buttermilk Pancakes to wow your friends and family.

Filed Under: Baking, Desserts, Tips

A Note About Sugar

February 26, 2020 by How Did You Cook That

Brown Sugar

I love making, and eating,  desserts. If it’s sweet, I’m in. Ice cream, cookies, pies and cakes. Oh, yes! Brown sugar swirled around in a creamy cup of coffee; give me more! The truth is, sugar seduces me.

Too often I take sugar’s availability for granted, not considering its origins. But know this: there is a dark underbelly to sugar.

My BFF likes to say; “Once you know better, you do better.” It’s a piece of a Maya Angelou quote. So now I know better, and for that reason, I try to do better. I’ve heard the truth about sugar’s origins.  And now I work to make responsible choices when sweetening my own recipes.

Sugar’s dark history is not that well-known. In fact, there are times that it’s ignored for the sake of satisfying our all too common human addiction. Who wants to be interrupted mid-lick into a chocolate ice cream cone by thoughts of human trafficking and forced labor? Very few people want to talk about the sugar industry’s dark side.  Furthermore, there are people who argue about sugar’s origins and defend it’s sordid past. And when I set out to learn more, I found that there wasn’t much information published on the subject.

History tells the story of tens of thousands of slave ships carrying millions of captive Africans to the New World. Many who survived the brutal journey were, at once, forced to plant, grow, cut, and process endless fields of sugar cane for harvest. All for the plantation owner’s profit.

In America, the sugar industry shaped systems of labor and capital from the very beginning of slavery.

In the early years of America’s foundation, sugar plantations exploded all along the Mississippi River. This development happened partly because of the abundance of rich alluvial soil, partly because of the arrival of knowledgeable European planters, and totally on the beaten down, backs of enslaved men, women and children. Understanding history should teach us to be better, however, in this case, it has not. The inhumane reality is this: Forced labor advanced the profits of the sugar industry and is still advancing those profits today.

Currently, in the Dominican Republic, tens of thousands of Haitians toil to produce sugar in labor camps under the watchful eyes of armed guards. Haitian laborers grow and harvest sugarcane for less than $1 per 12 to 14-hour workday. Promises of steady pay entice thousands to cross the border into the DR each year, right into the hands of traffickers. They are often starving, stripped of citizenship papers, and forced to work in slave-like conditions producing cane juice for export to sugar factories, candy makers, markets and restaurants around the world.

Once I knew about this devastating human story I started to pause every time I put something sweet in my mouth. I had become aware that the economic powerhouse built on the exploitation and abuse of enslaved human beings was my regular resource for the essential ingredient I used in my own recipes. My ideas about sugar turned from sweet to bitter in an instant.

United States sugar farming is heavily subsidized. 80% of the sugar we consume is produced domestically. Production in the US often involves large amounts of herbicides and pesticides, and contributes to air pollution and contaminated water. Bad for our bodies, bad for our planet.

So, what is my response to this?  Do I want to continue using sugar at all?  If I do use sugar, where can I go to buy it?  What are the alternatives?

The good news I found for myself is this: the US does import about 20 percent of its sugar from tropical and developing countries. And much of that sugar is organic and sustainably farmed. Good to know. However, sugar cane farmers in less developed countries experience very low world market prices, which leads to poverty and malnutrition. Not good for them.

So, then, what IS the good news? Fair Trade.

I discovered that purchasing sugar products from farmers in developing countries who have a Fair Trade certification can help promote economic and environmental stability. Authentic Fair Trade products are stamped with a certificate right on the package, just like organic certification. And, of course, you can confirm on the world wide web that the product you are interested in purchasing is the real deal.

When buyers committed to Fair Trade products, pay farmers a fair price, that allows the farmers to care for their families and invest in organic and sustainable agriculture training and certification.

It’s taken me some hunting and a willingness to pay a little more for the sugar products I buy. No more blinding white Domino sugar for me. Today I work to do better, learn more and to be kinder to my fellow humans and planet Earth. And everyday I am open to new challenges and applying change to the way I think and act.

Currently I am using Wholesome Organic Sugar products. Their sugar and molasses is delicious, pure and clean. Their products are grown by farmer-owned cooperatives in Paraguay, Costa Rica, Peru, Malawi, Zambia, and the Philippines.

If you are committed to cooking and baking with Fair Trade products and using organic sugar, I’d love to hear about it and what you are using and enjoying.


Filed Under: Baking, Desserts

Zucchini & Mushroom Bucatini

February 23, 2020 by How Did You Cook That

Weeknight Zucchini and Mushroom Bucatini

I got one of those spiralizer gizmos as a gift a couple of years ago and usually forget that it’s in my kitchen cupboard. When I set out to make this zucchini and mushroom bucatini I had the same conversation with myself that I have every time I pull the spiralizer out of the cupboard; “Why don’t I use this tool more often? It’s so handy!” No, I’m not selling spiralizers here and the one I own is definitely the low end of the market, but it is a pretty cool little kitchen gadget all the same.

For this quick weeknight pasta dish I used the spiralizer to create zucchini spirals that I tossed together with fresh mushrooms and “real” bucatini pasta.

Pasta could be the world’s most perfect food. Seriously, if you’ve got pasta in the pantry you can top it with anything that you’ve got in your vegetable or deli drawer and turn it into a totally satisfying meal.

This recipe calls for spiralized zucchini which complements the bucatini without making the dish feel overly heavy. Several big cloves of garlic and an onion caramelized in the pan make this an ideal dish for dinner after a long day at work.

If you don’t own a spiralizer, just slice up the zucchini and toss it in the pan with the mushrooms. You’ll get the same taste and satisfying result. 

This is comfort food, meant to make you comfortable, so go with your own style of warm fuzzy blanket here.

Serve with a crisp green salad and a glass of chardonnay.

Weeknight Zucchini and Mushroom Bucatini
Print Pin

Zucchini and Mushroom Bucatini

Quick zucchini and mushroom pasta recipe made with fresh vegetables and bucatini pasta.
Course Dinner, Main Course
Keyword Mushroom, Pasta, Zucchini
Total Time 25 minutes minutes
Servings 4

Equipment

  • Vegetable Spiralizer (optional)

Ingredients

  • 12 ounces bucatini pasta
  • 2 medium zucchini squash
  • 16 ounces baby portabello, crimini or shitake mushrooms quartered
  • 1 large shallot
  • ¼ cup white wine
  • 2 Tbsp olive oil
  • salt
  • pepper
  • Parmesan cheese, for topping

Instructions

  • Set a large pot of salted water to boil for pasta. Cook pasta according to package instructions.
  • Spiralize zucchini using the medium or large blade. Cut mushrooms into quarters. Thinly slice the shallot.
  • Heat 2 Tablespoons olive oil in a large skillet. Add vegetables and saute until cooked through but not browned. Add white wine and cook for another 2-3 minutes. Add salt and pepper to taste.
  • Reserve 1 cup of pasta water then drain pasta into a colander.
  • Toss the drained pasta together in the skillet with the sauteed vegetables over medium heat. Add some of the reserved pasta water to bring the ingredients together. Heat through.
  • Serve topped with ground black pepper and Parmesan cheese, if using.

Filed Under: Main Dishes

Stir Fried Baby Bok Choy

February 21, 2020 by How Did You Cook That

Stir Fried Baby Bok Choy

I love this little green leafy package of goodness. If you haven’t given baby bok choy a try, it’s time to give it a whirl. With it’s sweet mild flavor, baby bok choy is ideal for a quick stir fry dinner. Toss baby bok choy into Asian inspired soups punch up the color and add a bit of crunch.

Bok choy is super healthy too, because it’s packed with vitamin C, vitamin E, and beta-carotene. Bok choy is also one of the few vegetables that contain the essential nutrient, selenium.  Selenium is critical for reproduction, thyroid hormone metabolism, DNA synthesis, and protection from oxidative damage.

In this simple recipe, we stir fry baby bok choy in peanut oil with fresh minced garlic, salt and pepper. The uber-fast cook time yields a clean, smoky vegetable with a delectable Asian essence.

Serve hot alongside a bowl of brown rice. 

Stir Fried Baby Bok Choy
Print Pin

Stir Fried Baby Bok Choy

Quick and easy green vegetable dish that is high in vitamins and low in ingredients
Course Dinner, Lunch
Keyword plant based, Vegetarian
Total Time 10 minutes minutes
Servings 2

Equipment

  • Skillet

Ingredients

  • 2 tsp peanut oil
  • 2 large garlic cloves minced
  • 6-8 small heads baby bok choy, quartered thoroughly wash and drained with any dirty root parts cut off.
  • Kosher salt, to taste
  • fresh black pepper, to taste
  • soy sauce, to taste (optional)

Instructions

  • Heat peanut oil in a medium skillet over medium-high.
  • Add bok choy and stir to evenly coat. About 1 minute.
  • Add minced garlic. Cook until bok choy is tender and bright with slightly golden or browned edges. For a more smokey flavor, stir a little longer to get a very brown char on the edges of the leaves.
    Season with salt and pepper.
  • Serve with rice and a dash of soy sauce, if desired.

Filed Under: Bites and Tastes, Main Dishes

Roasted Red Pepper and Tomato Soup

February 12, 2020 by How Did You Cook That

Roasted Red Pepper and Tomato Soup

Tomato soup and grilled cheese sandwiches are a dynamic duo and the perfect twosome to invite to every occasion. They turn heads and get conversations started at weeknight dinners, Saturday afternoon parties or Sunday sports day on the couch. This year I paired creamy herb roasted red pepper and tomato soup with sharp cheddar cheese grilled between two hearty slices of seeded rye to serve at our Oscar Awards party. Let me tell you; everyone kept sneaking back to the kitchen to fill up their bowls. Commercial breaks are good for something after all!

When making this soup, pay special attention to the vegetables that are the base for your vegetable broth. (Or make your own) Knowing what veggies are in there will help you decide what seasonings to sprinkle over your peppers before roasting so that you really bring out the flavor of the tomatoes and peppers in your soup.

Roasted Red Pepper and Tomato Soup
Print Pin

Roasted Red Pepper and Tomato Soup

Why buy the boxed version of tomato soup when you can make it fresh and fabulous in no time flat!
Course Dinner, Lunch, Main Course
Keyword Pepper, Soup, Tomato
Total Time 1 hour hour 20 minutes minutes
Servings 6

Equipment

  • Immersion blender or countertop blender

Ingredients

  • 2 red or yellow peppers
  • 1 medium brown onion, chopped
  • 4 large garlic cloves, peeled and smashed
  • ½ cup carrot, chopped
  • ½ cup celery, chopped
  • ¼ cup tomato paste
  • ¼ cup medium grain white rice
  • 2 Tbsp olive oil extra virgin
  • 1 28 ounce canned chopped tomatoes
  • 4 leaves fresh basil
  • 1½ quarts vegetable stock
  • ⅛ tsp cardamom
  • pinch dried oregano
  • pinch dried thyme
  • salt and fresh ground pepper, to taste

Instructions

  • Pre-heat oven to 400°
  • Slice each pepper into 4 large quarters and lay into a baking dish. Drizzle with olive oil. Sprinkle with dried oregano and thyme. Sprinkle with salt and pepper, to taste.
  • Peel garlic cloves and smash lightly. Set into the baking dish with the peppers. Drizzle with olive oil.
  • Roast peppers and garlic in the oven for 25 minutes.
  • While peppers and garlic are roasting, saute chopped onions in a large skillet with 2 Tbsp olive oil over medium heat.
  • Cook stirring often until onions are translucent. About 3 minutes. Add chopped carrots and celery. Cook about 5 more minutes.
  • Add the tomatoes with the juice, tomato paste, basil, cardamom and a generous dash of salt.
  • Cook over medium heat, stirring occasionally, about 10 minutes until tomatoes have cooked down a bit.
  • Add the roasted peppers and garlic, vegetable stock, rice, and salt and pepper to taste. Bring to a boil, reduce the heat, cover and simmer 30 minutes, stirring occasionally. Season with freshly ground pepper, taste and adjust salt.
  • Pour soup into blender cup in batches and purée. Be careful with hot soup in the blender. DO NOT FILL TOO FULL and leave cover lid loose for steam to escape. Cover with tea towel to keep from splattering. Return pureed soup to pot in batches and heat on medium low for several minutes. Taste and adjust seasonings. Top with Parmesan cheese, croutons, dollop of yogurt and/or chopped basil.

Filed Under: Bites and Tastes, Main Dishes

Fluffy Buttermilk Pancakes

January 24, 2020 by How Did You Cook That

Fluffy Buttermilk Pancakes

These satisfying pancakes turn out incredibly fluffy and delicious with very little effort. Separating the eggs and using buttermilk may, at first glance, make this recipe appear daunting but stick around, it’s not as complicated as all that.

It seems like every time I’m in the mood for buttermilk pancakes there is no buttermilk in the refrigerator. Well I’m here to tell you, I’ve figured out some solutions to that problem. Options include:

  1. Mix 2/3 cup plain Greek yogurt with milk to equal 1 cup of liquid.
  2. Mix 1 Tbsp of lemon juice with 1 cup of milk.
  3. Keep a container of powdered buttermilk (from the Saco Pantry) in your fridge for just such a moment as this. You can find it in the baking aisle of your local grocery store.

When you get to the egg separating step…just separate the egg. That’s it. No whisking, no frothing no beating. Just separate and set aside for a minute.

Be sure to heat your maple syrup before serving. Why go through the motions of whipping up a batch of fluffy yummy hotcakes just to throw cold refrigerated maple syrup at them? Heat it up. Eat ’em up.

Fluffy Buttermilk Pancakes
Print Pin

Fluffy Buttermilk Pancakes

These satisfying pancakes turn out incredibly fluffy and delicious with very little effort.
Course Breakfast, Brunch
Keyword Buttermilk, Pancakes
Total Time 30 minutes minutes
Servings 2

Equipment

  • Skillet

Ingredients

  • 1¼ cup all-purpose flour
  • 1 Tbsp sugar
  • 1 tsp Kosher salt
  • ½ tsp baking powder
  • ½ tsp baking soda
  • 1 large egg, separated
  • 5 Tbsp unsalted butter, melted and at room temperature
  • 1 cup buttermilk
  • ¼ cup milk
  • maple syrup
  • spray oil or canola for pan

Instructions

  • Combine flour, sugar, salt, baking powder, and baking soda in a large bowl.
  • In a separate smaller bowl, combine the egg yolk, buttermilk, and milk. Stir together to mix. Add the melted butter and whisk until well combined.
  • Pour the milk mixture into the flour mixture and stir until just combined. Add the egg white (no whisking needed) and stir together to make a thick batter. (Do not over-mix. Small lumps provide pockets of air that lift the pancakes to heavenly fluffiness.) Set batter aside for 5 minutes.
  • Heat a large skillet over medium-high heat. When hot, lightly brush canola oil over pan. After about 20 seconds, when the oil just starts to shimmer, lower the heat to medium-low and drop in 2-3 spoonfuls of pancake batter for each pancake.
  • Cook for about 2 minutes. When the batter gets bubble-y, it's close to flip time. Lift up an edge of one pancake to see if it's golden brown, then flip and cook on the other side for 2 to 2 more minutes.
  • Remove to plates and serve with your favorite toppings or hot maple syrup.
  • Note: If you want to add blueberries or chocolate chips to the recipe, just drop them in when you add the milk mixture to the flour.

Filed Under: Breakfast

Cheesy Cauliflower & Carrot Soup

January 24, 2020 by How Did You Cook That

Cauliflower and Carrot Soup

If there’s one thing I love about cold weather, it’s soup. Soup’s versatility makes it at dish you can toss together with whatever you have in your refrigerator.  You almost don’t need a recipe for this creamy rich soup. Adapt it to fit the season and what you’ve got in your vegetable drawer.

I love cauliflower in this soup but toss any combination of vegetables into your saucepan, add water or broth, purée, and there you have it. Light a candle and pour the wine, dinner is served. Top it with a dollop of sour cream and a sprinkle of green herbs for flare and flavor.

Some steps of this soup have been adapted from NYT Cooking recipe, Lemony Carrot and Cauliflower Soup. Try a dash of miso for a super boost of umami flavor. Hello comfort food!

Cheesy Cauliflower and Carrot Soup
Print Pin

Cheesy Cauliflower and Carrot Soup

The perfect vegetarian soup to warm you up on a cold winter day.
Course Dinner, Lunch
Keyword Carrot, Cauliflower, Soup, Vegetarian
Total Time 45 minutes minutes
Servings 4

Ingredients

  • 2 cups 1 large onion (any color you prefer)
  • 2 cups about 5 medium carrots, peeled and cut into ½ inch pieces
  • 2 cups about 1 medium head of cauliflower cut into small florets
  • 4 Tbsp miso paste I use Miso & Easy (available at Sprouts)
  • 2 Tbsp extra virgin olive oil
  • 1 Tbsp coriander seeds
  • 2 large garlic cloves, minced
  • 2 tsp Kosher salt
  • 2 ounces about a 1 inch square cube of Parmesan cheese or the rind of a Parmesan cheese wedge.
  • 1 Tbsp cayenne
  • 2 tsp smoked paprika, plus more for serving
  • 1 bunch fresh cilantro, for serving
  • plain Greek yogurt, for serving
  • 2 tsp onion powder

Instructions

  • Pre-heat oven to 400°.
  • Toss cauliflower florets with 1 Tbsp olive oil and roast in the oven till golden brown. About 15 minutes.
  • While cauliflower is roasting, toast coriander seeds in a large dry pot (do not use oil or spray) over medium heat until dark brown. 3 minutes. Grind seeds to a coarse powder with mortar and pestle and set aside. (If you don't have a mortar and pestle you can crush the seeds on a cutting board with a heavy stock pot or cast iron skillet)
  • In the same pot that you toasted the coriander, heat 2 Tbsp olive oil. Stir in chopped onion and cook until fragrant and translucent, stirring occasionally for about 8 minutes. Add garlic and cook 1 more minute.
  • Add 5 cups water to the pot. Then add carrots, crushed coriander and salt. Stir in the miso paste. Simmer and cook, uncovered, 10 minutes. Stir in roasted cauliflower and cook for another 5 minutes until carrots are tender.
  • Remove the soup from the heat. Pour soup into a blender, (you may need to do this in batches so you don't overfill your blender.) Purée until smooth.
  • Pour pureed soup back into the pot and add Parmesan cheese wedge/rind, paprika, onion powder and cayenne. Simmer for about 6 minutes until all the flavors have mingled nicely.
  • Ladle into bowls and serve topped with a dollop of Greek yogurt, paprika and cilantro leaves.

Filed Under: Main Dishes

Original French Crepes

January 22, 2020 by How Did You Cook That

Mary's Crepes

When I was growing up I loved spending the weekend with my grandma at her home in Los Angeles. I would sit at her sunny kitchen table with the white lace tablecloth while she mixed up a batch of the most amazingly simple original French crepes. The crepes came off the skillet perfect every time…”except for the first one”,  she would always say, “that one is a throw away.”

We would spread them with rich pats of butter, roll them up and pour warm syrup all over them. It was a kid thing and it made me feel so special. Like I was eating a treat made just for a princess.

I learned, from those mornings in her kitchen, the very simple French crepe recipe she taught me and the straight-forward technique for cooking up the batter in a small skillet sizzling with browned butter.

I still make her Original French crepes, using that very simple recipe of only 5 ingredients.  These crepes are a favorite every time. Over the years I discovered the endless possibilities for fillings and toppings, but the basic recipe has never changed. This basic French crepe recipe is totally adaptable. Just add a sweet or savory sauce or filling, spread on top or roll inside. This little French-style pancake will have you singing La Vie en Rose all day long.

Mary's Crepes
Print Pin

Original French Crepes

Basic French crepes recipe. A perfect main dish that can be adapted to any meal of the day.
Course Breakfast, Brunch, Dinner
Cuisine French
Keyword Crepes, Pancakes
Total Time 25 minutes minutes
Servings 4

Equipment

  • 6" skillet

Ingredients

  • 1½ cups all-purpose flour
  • 4 eggs
  • 2 cups milk
  • ½ small lemon, juiced
  • 8 Tbsp butter
  • Fillings and toppings Butter, powdered sugar, maple syrup, berry preserves, cream cheese, spinach, chives, salsa, shrimp, crab, mushrooms...you get the picture.

Instructions

  • Add flour and eggs to a mixing bowl. Add the milk ¼ cup at a time, stirring batter in ¼ cup intervals until very smooth. (The trick here is to let the weight of the flour work for you to knock out all the lumps during mixing while the batter is really thick and then slowly thin out the batter by adding the remaining milk.)
  • Heat small skillet over medium high heat.
  • Drop ¾ tablespoons of butter into the hot pan and swirl to coat the bottom and sides of pan.
  • When butter is golden brown and sizzling pour in ⅓ cup of batter. Tilt the pan around to coat entire bottom and just slightly up the side of the pan with batter. (If your pan is not hot enough, the batter will just slide off the pan and not sear itself to the bottom)
  • Cook the crepe on first side until the edges start to crisp and slightly curl from the pan. Flip the crepe over and cook for only about 10 more seconds. Transfer to a plate and stack them flat so that you can serve them all at one time. Keep them warm in the oven or next to the burner while you are cooking the other crepes. Once you stack them they'll stay pretty warm from their own heat.
  • Repeat steps 3-5 until all of your batter has been used.
  • Serve rolled, folded or flat with your favorite toppings.

Filed Under: Breakfast

Cast Iron Skillet Pizza

January 21, 2020 by How Did You Cook That

Cast Iron Skillet Pizza

Pizza is one of the world’s most perfect foods. You can make up a pizza in a cast iron skillet with little effort. And the flavor punch from a homemade pizza crust is out of this world.

Chock full of grains, veggies and cheese, right? Or covered in cream and sprinkled with cinnamon and sugar or piled high with fresh berries. Yeah, I know. That’s not traditional. But if you’re inspired, make up the yeasty crust and pile on the toppings for your own unique creation. Breakfast, lunch, dinner or camp site.

This pizza dough recipe is for 2 crusts. It’s a Now and Later, make one now, save one for later kinda dough. Chewy, yeasty and crispy around the edges. It is really yummy.

Fill the pie with your favorite toppings and cheese. I made mine with lots of fresh veggies, mozzarella, parmesan and gouda. Whatever you’ve got hanging out in your fridge will do.

Pour yourself a cold beer and get to it. This is an easy, one pan Monday Game Night meal. And that second ball of dough can chill in the fridge and make a comeback later in the week.

Cast Iron Skillet Pizza
Print Pin

Cast Iron Skillet Pizza

Easy Cast Iron Skillet Vegetarian Pizza with how-to's for homemade pizza dough and sauce. Both dough and sauce can be prepped ahead and put into the skillet later for a quick dinner. NOTE: The dough recipe makes two pizza crusts.
Course Dinner, Lunch
Keyword Pizza, Vegetarian
Total Time 1 hour hour 30 minutes minutes
Servings 4

Equipment

  • Cast Iron Skillet

Ingredients

Dough Ingredients (For 2 Pizza Crusts)

  • 3 cups all-purpose flour or bread flour Tip: All-purpose flour will give you a chewier crust. Bread flour will give you a much crisper crust.
  • 1 cup slightly warm water (110°-112°) not too hot or yeast will die and the dough will not rise
  • 2¼ tsp active dry yeast equal to 1 packet of yeast
  • 2 Tbsp olive oil, plus a little extra for sides of bowl and dough.
  • 1 tsp sugar
  • 1 Tbsp Kosher salt

Pizza Sauce Ingredients (If homemade sauce isn't your thing, just grab a jar of pre-made from the grocery store)

  • 1 14 oz can whole or diced tomatoes San Marzanos are the best for pzza sauce
  • 4 cloves garlic, minced
  • 2 Tbsp olive oil
  • 1½ tsp balsamic vinegar
  • 1 tsp salt
  • fresh ground black pepper

Pizza Toppings

  • 4 ounces mozzarella cheese, grated use more or less to your own liking
  • 2 ounces gouda, grated
  • 2 ounces parmesan cheese, grated
  • Veggie and herbs and stuff you like Use your favorite veggies and toppings. You know what to do here.

Instructions

Basic Pizza Dough Recipe

  • Pour slightly warm, 110° water into the bowl of a mixer fitted with a dough hook and sprinkle with yeast. Let stand until foamy, about 5 minutes. Be sure the water is not too hot or your yeast will die and the dough will not rise.
  • Add the sugar, oil, and salt into yeast mixture.
  • With the mixer on low, add the flour, in cupfuls, and mix until dough forms a ball. Transfer dough ball to oiled bowl and brush top with more olive oil. Cover bowl with a clean towel and set aside in a warm spot for about an hour. When you take a peek in an hour, the dough should have doubled in size.

Basic Pizza Sauce Recipe (if using)

  • Prep the toppings and make the pizza sauce while dough is rising.
  • Blend tomatoes, garlic, olive oil, balsamic vinegar, salt and pepper together in a blender or food processor till blended.
  • Sauce can be used immediately and remainder saved in the refrigerator for up to 5 days. Sauce can be frozen for 3 months.

Making the Pizza

  • Pre-heat oven to 450°
  • Sprinkle bottom of cast iron skillet with a pinch of fine ground corn meal or rice flour.
  • Place the dough on a floured work surface and cut it in half. If you are making 2 crusts, place both pieces on a floured work surface, cover with a tea towel and let rest for about 10 minutes. After 10 minutes, keep one dough covered (if using) and gently knead the other dough for about 4 minutes until smooth. If making 2 crusts, repeat with second ball of dough.
    (NOTE: If you are making only one crust, wrap the other piece in plastic and store in the fridge for up to 5 days. Freeze in a freezer bag for up to 3 months.)
  • After kneading, roll out dough ball to the size of your skillet. Approximately a 12-inch round.
  • In one decisive action, lift dough like a boss and lay it into the skillet. Gently press it to the bottom of the skillet and push just a little way up the sides of skillet.
  • Brush the dough with olive oil.
  • Spread homemade pizza sauce (if using) or store bought sauce onto the dough in the skillet.
  • Sprinkle the cheese on top of the sauce.
  • Add toppings.
  • Drizzle a tiny bit of olive oil around the edge of the pizza so that it seeps in between the dough and the sides of the skillet. This gives crust a crispy golden crunch and helps it come out of the pan easier.
  • Bake pizza in the oven for 15 minutes or until golden brown.

Filed Under: Main Dishes, Sauces

Sunrise Glow Smoothie

January 18, 2020 by How Did You Cook That

Sunrise Glow Smoothie

I love sweet Cara Cara oranges! In springtime in California the farmers markets are full of them. Eat them fresh by the slice or toss a few into a blender for a sunrise glow smoothie. Now that’s a happy start for any day.

Smoothies can be a quick healthy meal loaded with all the vitamins and nutrients you need for the morning.

This gorgeous glowing blend features seasonal fruits and gut-healthy ingredients that will keep you going till lunch. Carrots for luminous skin. Cara Cara oranges and strawberries, loaded with immune boosting vitamin C. Almonds, chia seeds and coconut milk provide essential fat and protein plus fresh pineapple and mango keep gut bacteria happy. Additionally, add a few tablespoons of maca powder the whole thing comes together for a wholesome and delicious morning mix.

Toss any fruits you have on hand into the blender and make your own version of morning sunshine.

Sunrise Glow Smoothie
Print Pin

Sunrise Glow Smoothie

Gut-friendly, skin glowing, anti-inflammatory smoothie. A refreshing drink for any time of day.
Course Beverages, Breakfast, Snack
Keyword smoothie, Snack, vegan
Total Time 10 minutes minutes
Servings 2

Equipment

  • High Speed Blender or Magic Bullet

Ingredients

  • 1 cup fresh pineapple cut into chunks
  • 1 banana
  • 1 Cara Cara orange peeled and sectioned
  • 1 golden mango peeled and cut into pieces
  • 1/2 cup carrots cut into 1 inch pieces
  • 1/2 cup fresh or frozen strawberries
  • 1 cup coconut cream
  • 1/3 cup raw slivered almonds
  • 2 Tbsp maca powder
  • 1 Tbsp chia seeds

Instructions

  • Add all the ingredients to the blender with the most tender ingredients on the bottom. If you like a chilled smoothie, add a couple of ice cubes to the blender.
  • Turn on blender and blend for 1 minute.
  • Pour into glasses and enjoy

Filed Under: Thirst Quenchers

  • « Go to Previous Page
  • Page 1
  • Interim pages omitted …
  • Page 4
  • Page 5
  • Page 6
  • Page 7
  • Page 8
  • Page 9
  • Go to Next Page »

Primary Sidebar

Hi food lovers. Welcome to my kitchen.

If you're looking for simple dishes made with wholesome, seasonal ingredients, you've come to the right place. Grab a fork and take a bite. Dig In →

Coriander Seeds
Strawberry Rhubarb Galette
Coconut Peach Popsicles

Categories

Favorite Resources

Cook Books

What’s New

  • Roasted Garlic Tomatoes with Thyme
  • Crisp Green Salad with Sweet Honey Vinaigrette
  • Number One Ice Cream
  • Street Corn Soup
  • Egg In A Jar

Footer

  • Email
  • Facebook
  • Instagram
  • YouTube

Find Recipes

Never Miss a Recipe

Copyright © 2025 How Did You Cook That on the Foodie Pro Theme