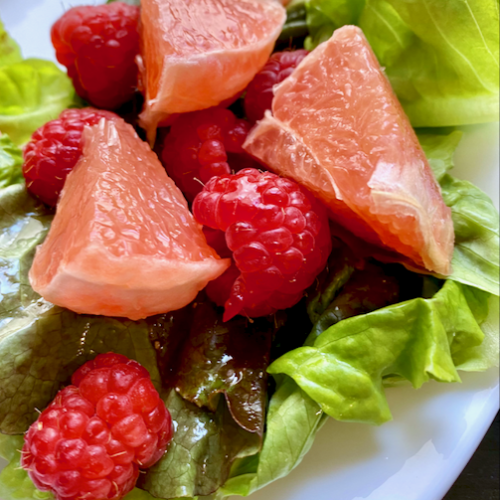
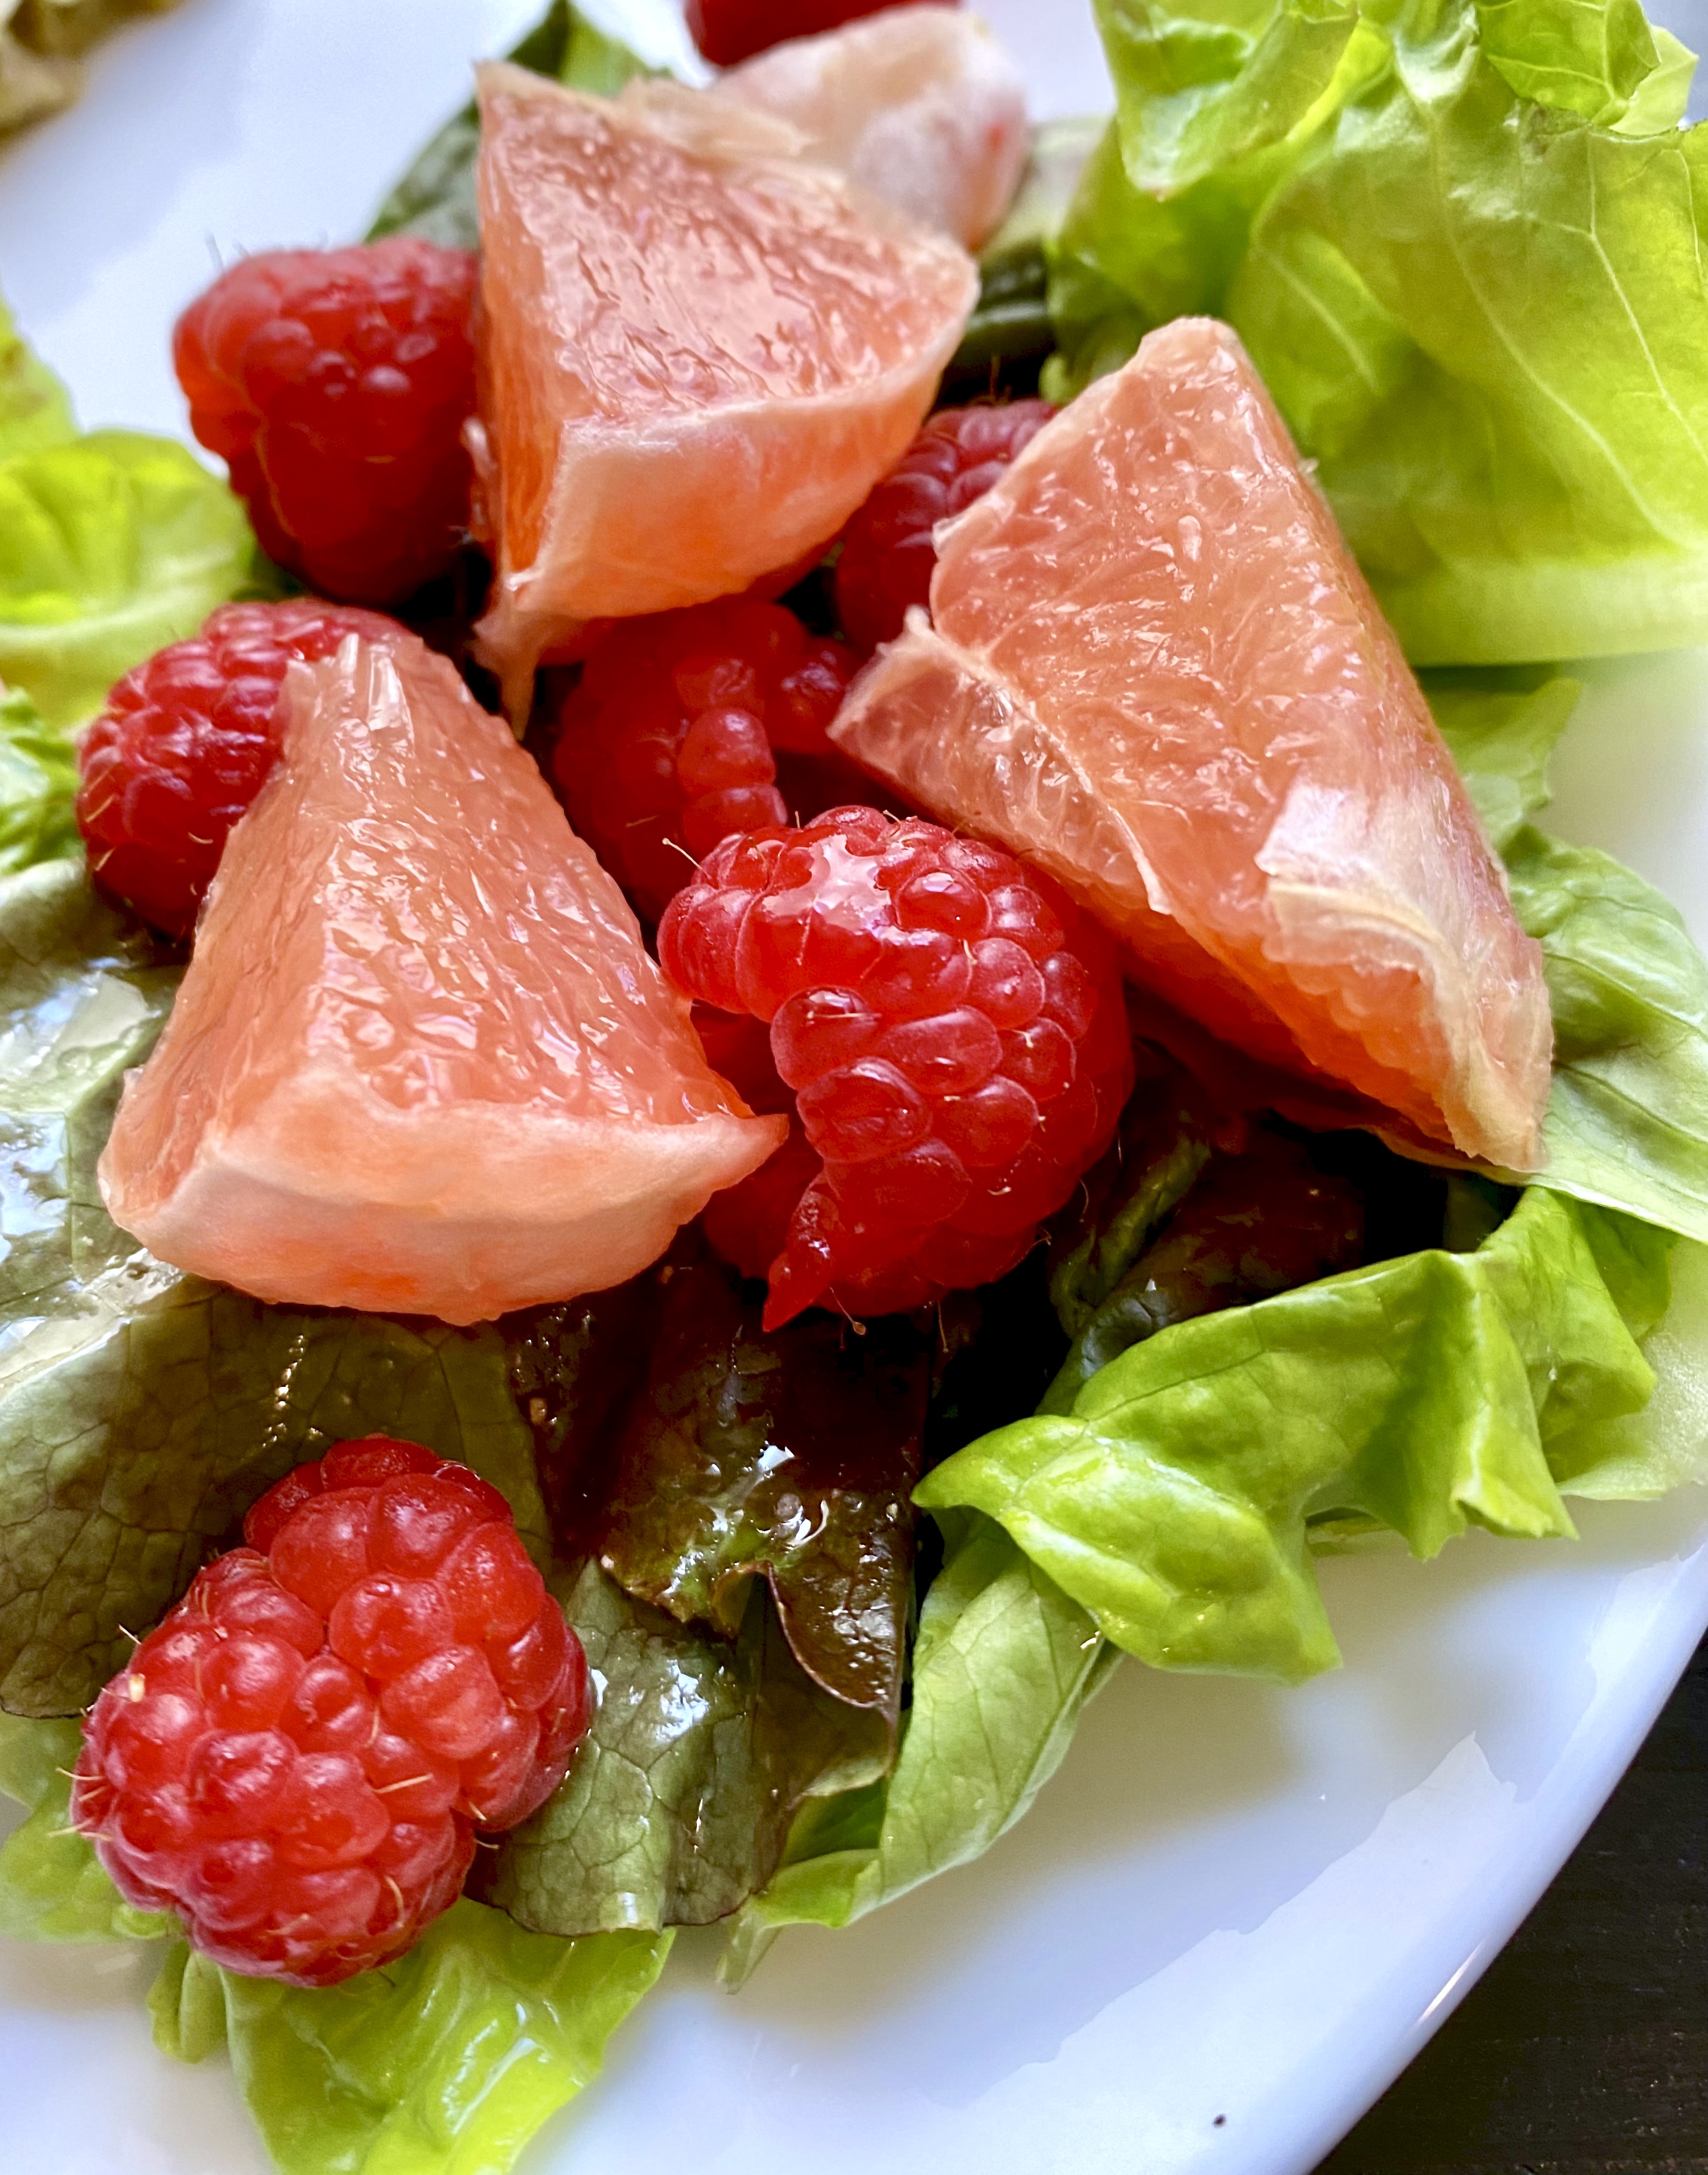
Crisp Green Salad with Sweet Honey Vinaigrette
Crisp green salad with sweet honey vinaigrette. Make it with or without fresh fruit.
Servings 4
Ingredients
Lettuces
- 2 heads butter bibb lettuce organic
- 2 large Belgian endive organic
- 1 Romaine heart organic
- 1 large grapefruit, peeled, sectioned and cut into ½ inch pieces (optional)
- 1 pint fresh berries (optional)
- ideas for added fruit: fresh peaches, avocado, apple (optional)
Vinaigrette
- 1 large shallot, minced can use a red onion if shallots are not available
- 2½ Tbsp sherry vinegar
- 1 Tbsp Dijon mustard
- pinch red chile flakes
- 1 Tbsp warm water
- ¾ cup extra virgin olive oil
- 1 Tbsp honey
- 2 sprigs fresh thyme, stripped
- 1 large clove garlic, grated
- Kosher salt and ground black pepper
Instructions
- IMPORTANT: How to wash the lettuces. This step is important to wash off any residual soil or possible contaminants used in packaging. Trust me, you'll notice the difference.Fill a large bowl with lukewarm water. Remove wilted and browned leaves from the lettuces. Trim each head at the root. Leave butter-lettuce leaves whole. Cut large leaves of romaine and endive in half, then drop into water. Swirl lettuces in water, then drain. Fill bowl again with clean cool water and wash twice more. Rinse one more time with cold water, then transfer to a salad spinner to dry. Gently wrap in paper towels or clean dish towels. Set aside.
- Rinse minced shallot with cold water. Drain, then place in a medium bowl. Add vinegar and warm water. Let sit for 2 minutes, then whisk in oil, mustard, honey, thyme, garlic and a large pinch of salt. Taste, and adjust salt and vinegar as needed.
- In a large salad bowl carefully pile a generous handful of the washed lettuces. Add fruit (if using) Sprinkle with salt and pepper. Add a generous drizzle of vinaigrette. Add another handful of salad, more fruit (if using) salt, pepper and vinaigrette. Repeat until lettuces (and fruit) are all in the bowl. Add another drizzle of dressing. Serve.This salad is best fresh. Be sure to make it just before serving.