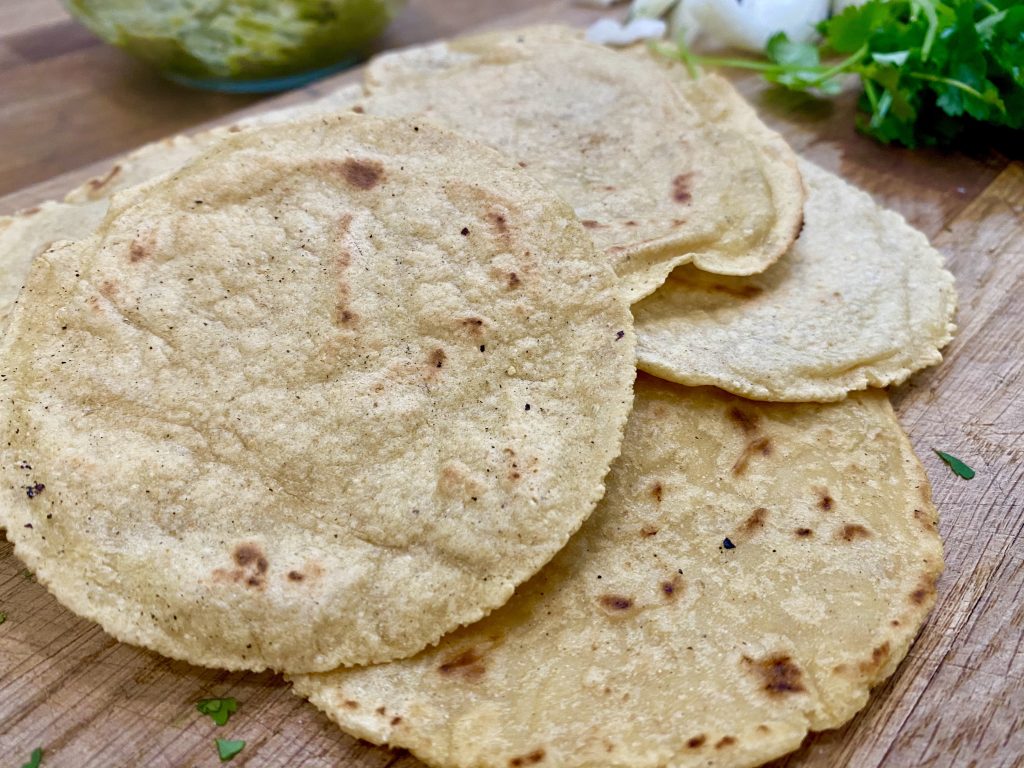
Homemade Corn Tortillas
Servings 20 tortillas
Equipment
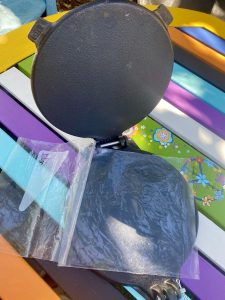
- Cast iron tortilla press
- Zip top bag
Ingredients
- 2 cups 2 cups masa harina Make sure to buy Nixta Masa. NOT INSTANT. It's fairly readily available in grocery stores throughout the US and always available in Latin grocery stores.
- 1 tsp kosher salt
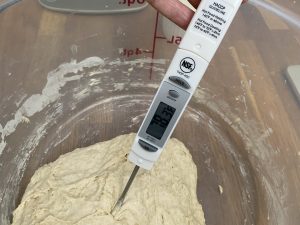
- 1 ½ cup hot water not boiling (about 120°)
Instructions
- Cut the sides of a zip top bag along the seams. Leave the bottom seam uncut. Cut off the zipper. The bag should now open and close from the bottom seam, like a book. Lay the bag inside of your tortilla press until ready to use.
- Combine masa harina and salt in a large mixing bowl.

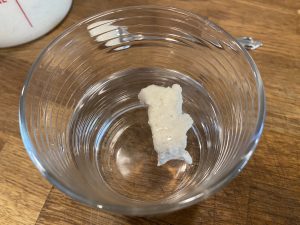
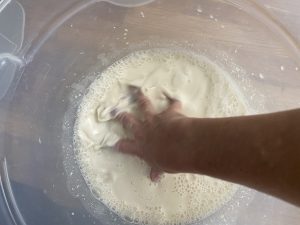
- Add 1½ cups hot water and stir till it just comes together but still has dry corn flour. Then ditch the spoon and get your hands in there. Knead the dough, squeezing, pressing down with the heel of your palm, then folding over. Knead for 3 minutes. Cover bowl with a damp tea towel and let it rest for 5 minutes.
- After 5 minutes knead the dough again for about 3 more minutes. The dough should not stick to your hands. It should feel like play-do or that magic sand stuff that kids play with.
- Break off pieces of dough and roll into ping pong sized balls.
- Heat a griddle or flat skillet till very hot. Add a couple drops of canola oil to the skillet and brush around to evenly coat.
- Use a cast iron tortilla press to get the most consistently even and perfectly round tortillas.
- Heat a griddle or flat skillet till very hot. Add a couple drops of canola oil to the skillet and brush around to evenly coat.
- Lay the cut zip top bag inside the tortilla press. Open it like a book and place one of the balls of dough on the bag. Fold the bag over onto the dough ball and then press the ball with the iron press. Open the press and lift out the flattened dough, open the bag and peel off into your hand. Then lay the tortilla on the hot skillet.
- Heat for about 1 minute until golden brown spots form on the bottom of the tortilla. Flip it and do the same on the other side. Remove from griddle and keep warm in a tortilla warmer or wrap up in a clean tea towel. Fold the towel over each tortilla so they are all wrapped up inside but not stacked on top of each other. When the towel is full, start another.
- Use tortillas immediately while still warm or store them in a sealed plastic bag in the refrigerator for up to 3 days. Around my house any leftover tortillas get eaten within a day so I just leave them on the counter wrapped in the towel and everybody can grab 'em when the craving hits.