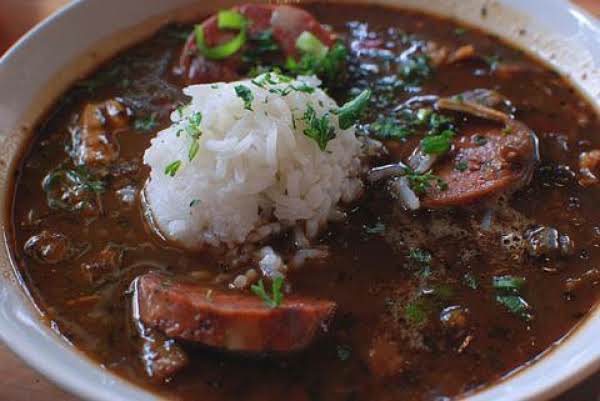

Chicken and Sausage Gumbo
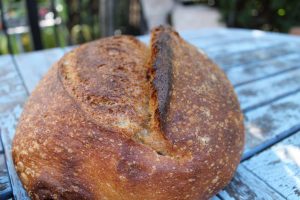
Authentic New Orleans Gumbo. Slow-cooked and simmered for hours; it pairs perfectly with warm French bread and a crisp wedge salad. Don't forget to open an icy cold bottle of Abita Beer to go along with it.
Servings 8
Equipment
- Large stock pot
Ingredients
- 4 medium boneless, skinless chicken thighs
- 1 pound andouille sausage, slice link in half down the center lengthwise, then cut into half round pieces
- 1/2 cup vegetable oil
- 1/2 cup all purpose flour
- 2 cups brown onion, diced
- 1 cup red pepper, diced I use red pepper instead of green for my trinity. It adds a wonderful sweetness to the gumbo
- 3 medium celery stalks, diced
- 4-5 large garlic cloves, minced
- 1/3 cup green onions, chopped
- 1/2 tsp cayenne pepper, plus more if you’d like
- pinch red pepper flakes
- 4 sprigs fresh thyme or about 1 teaspoon dried thyme
- 2 bay leaves
- 1 Tbsp Kosher salt
- 1 tsp fresh black pepper
- 10-12 cups chicken stock
- 2 Tbsp Better Than Bouillon (chicken or vegetable)
- 1/4 cup fresh parsley, chopped
- 2 cups cooked white or brown rice
Instructions
- In a large stock pot, brown the chicken thighs, skin down, to render all the fat into pan.
- Remove chicken from pot. Remove skin and cut into 1 inch pieces. Brown sausage in the stock pot with chicken fat.
- Remove browned sausage and make a roux.
- Add 1/2 cup oil and 1/2 cup flour to pot.
- Stir continuously on medium heat, scraping up browned bits from bottom of pan, for about 25 minutes until roux is the color of milk chocolate.
- Add chopped vegetables and garlic to stock pot. Saute until soft and translucent.
- Add chicken stock, Better Than Bouillon, thyme, bay leaves, cayenne, red pepper flakes and black pepper to pot.
- Add sausage and chicken pieces back into pot.
- Simmer over low heat for 1 1/2 - 2 hours.
- Add in chopped green onions. Simmer another 20 minutes.
- Ladle gumbo into bowls of rice.
- Serve hot with crusty French bread and a crisp wedge salad.