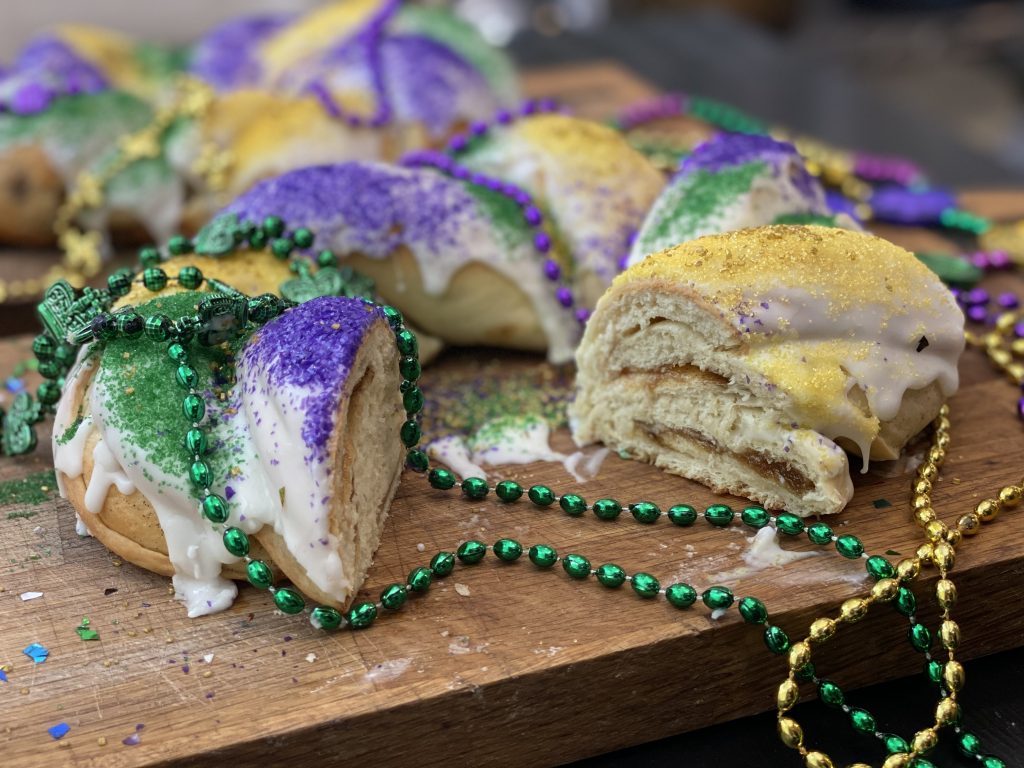

Mardi Gras King Cake
Brightly colored, sugar-sprinkled giant sticky-sweet cinnamon roll treat unique to New Orleans and all of Louisiana during Mardi Gras season.The instructions for this cake are long, but don't let that deter you. This is a pretty easy recipe to master and the instructions are intended as tips to keep you from making many of the mistakes that I made when learning to make it. Seriously, this cake is definitely worth making. Your family and friends will lose their minds when you share this cake with them. Laissez les bons temps rouler!
Servings 16 servings
Ingredients
For the Cake
- 8 oz sour cream
- 4 Tbsp sugar
- 2 Tbsp butter
- 1 tsp kosher salt
- 1 envelope active dry yeast equivalent to 2¼ tsp
- ¼ cup warm water
- 1 Tbsp sugar
- 1 egg lightly beaten
- 3 cups bread flour if you only have all-purpose flour that's OK. Your cake will be a bit denser and more cake-like using all-purpose.
- 5 Tbsp butter softened
- ¼ cup brown sugar
- 2 tsp ground cinnamon
Butter Icing
- 3 Tbsp unsalted butter
- 2 cups powdered sugar
- 2-3 Tbsp buttermilk
Decorations
- colored sprinkles (purple, yellow, green)
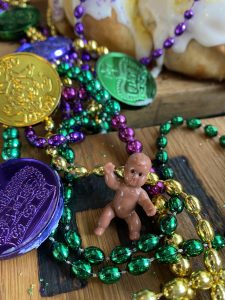
- plastic baby You can find plastic babies on the baby shower aisle of your local craft store or party store. I bake mine right into the cake and they NEVER melt. The cake is only in the oven for 15-20 minutes so the temperature doesn't get hot enough to melt your baby. 😀
- Mardi Gras beads and dubloons (colored coins)
Instructions
- In a small saucepan heat sour cream, 4 Tbsp sugar, 2 Tbsp butter and 1 tsp salt. Stir till melted and combined. Turn off heat and let cool to 110° or below.
- In a small bowl or glass measuring cup mix yeast with ¼ cup warm water plus 1 Tbsp sugar. Stir until dissolved and let sit, for about 5 minutes, until foamy.
- In the bowl of a stand mixer beat the cooled sour cream mixture with the yeast mixture. Add egg and 1 cup flour mixing to incorporate. Reduce speed to low and gradually add remaining 2 cups of flour. The dough should start to become soft and form a ball, still slightly sticky and not too dry or dense. If it is too sticky add more flour 1 Tbsp at a time.
- Turn dough out onto a lightly floured surface. Knead for about 10 minutes until smooth and elastic.
- Butter the sides of a large glass bowl and place the dough inside, turning to cover dough in butter. Cover the bowl with a tea towel and let it rise in a warm place for about an hour or until dough doubles in size.
- After dough has risen for an hour punch it down. Then roll out into a 22" x 12" rectangle. Spread the 5 Tbsp softened butter evenly over the dough leaving about 1" un-buttered around the edge. Stir together ¼ cup brown sugar and cinnamon, and sprinkle evenly over butter.
- Here's the OPTION part: I braid my dough, but you don's need to do that. You can just roll it up and bake in the oven as a single roll. I will give you both methods.
Braided King Cake
- Cut the dough length-wise into 3 equal strips. Place the baby on top of one of the strips, press it right down into the buttery dough. Then begin rolling each strip of dough up, enclosing the butter and sugar. (and the baby in one!) Pinch the seams together. Lay each rope seam side down.
- Place 3 ends of the dough together on top of each other and press them all together so that they become sealed at the end. braid the 3 ropes together, end-over-end until you get the the bottom. This is a sturdy dough so you can stretch and twist it to get the braid the way you want it. Be sure to keep the seams toward the middle of the cake, hidden inside.
- When you get the end of the braid, pinch the 3 ends together and place on a parchment or foil-lined baking sheet. (Parchment or foil will catch all the melted butter that may seep out of your cake while baking)
- Bring the ends of the roll together to form an oval ring, pinching edges together to seal. Just get in there and stretch and squeeze it together really well. You won't hurt this dough.
- Cover and let rise in a warm place (85°), free from drafts, 20 to 30 minutes or until doubled in size.
- Bake at 375° for 14 to 16 minutes or until golden. Slightly cool cake on the pan on a wire rack.
- While the cake is baking and cooling make the brown buttermilk icing.
Jelly Roll King Cake
- Place your plastic baby anywhere in the rectangle of dough. Starting at one long end, roll up the dough, jelly-roll style, enclosing the butter, sugar and baby inside. Pinch seam together.
- Place roll, seam side down, on a parchment or foil-lined baking sheet. (Parchment or foil will catch all the melted butter that may seep out of your cake while baking) Bring the ends of the roll together to form an oval ring, pinching edges together to seal. Just get in there and stretch and squeeze it together really well. You won't hurt this dough.
- Cover and let rise in a warm place (85°), free from drafts, 20 to 30 minutes or until doubled in size.
- Bake at 375° for 14 to 16 minutes or until golden. Slightly cool cake on the pan on a wire rack.
- While the cake is baking and cooling make the brown buttermilk icing.
Brown Buttermilk Icing
- In a small saucepan heat 3 Tbsp unsalted butter on medium, swirling and watching constantly. As soon as it gets foamy and starts to brown, turn off heat. It should have a nutty buttery aroma. Let it cool slightly.
- Whisk the powdered sugar, buttermilk and browned butter together, scraping out all of the browned butter bits into the mixture.
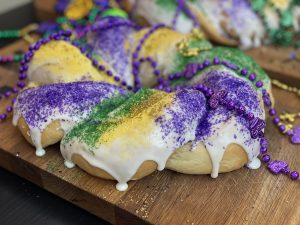
- Drizzle the icing over the top of the cake. Sprinkle immediately with the colored sugars, alternating colors to form bands.
- Allow to cool completely before slicing. Tradition says that the person who gets the slice of King Cake with the baby inside buys or bakes the next King Cake for the group. Be sure to pay it forward and have fun with this festive cake and tradition.