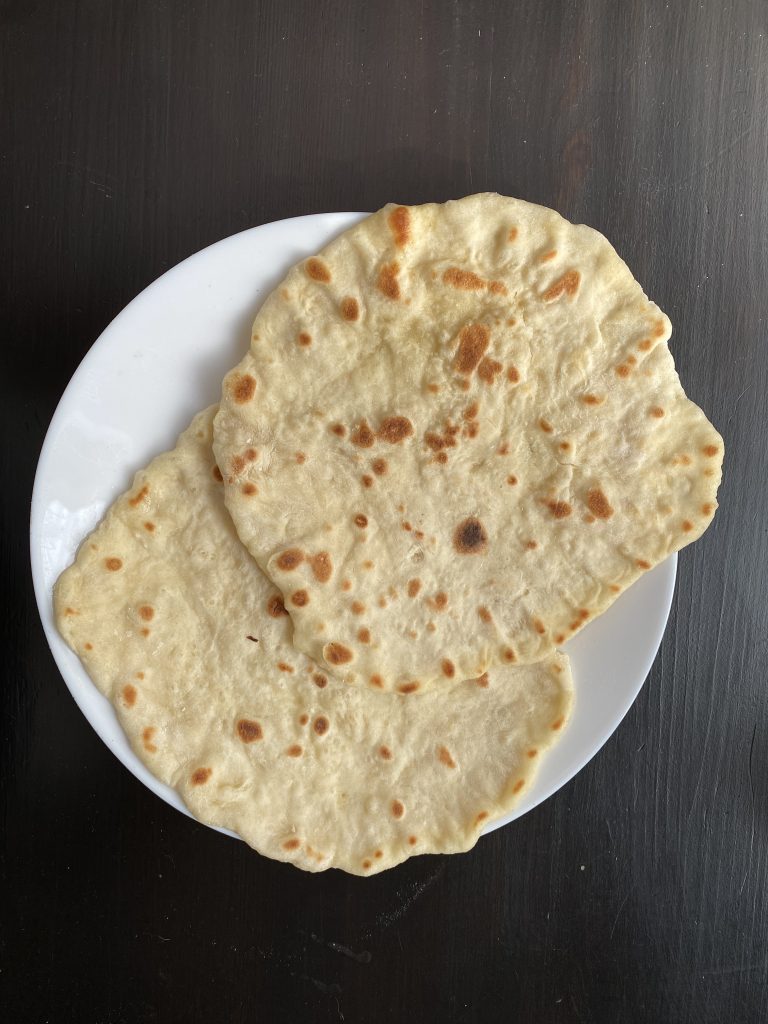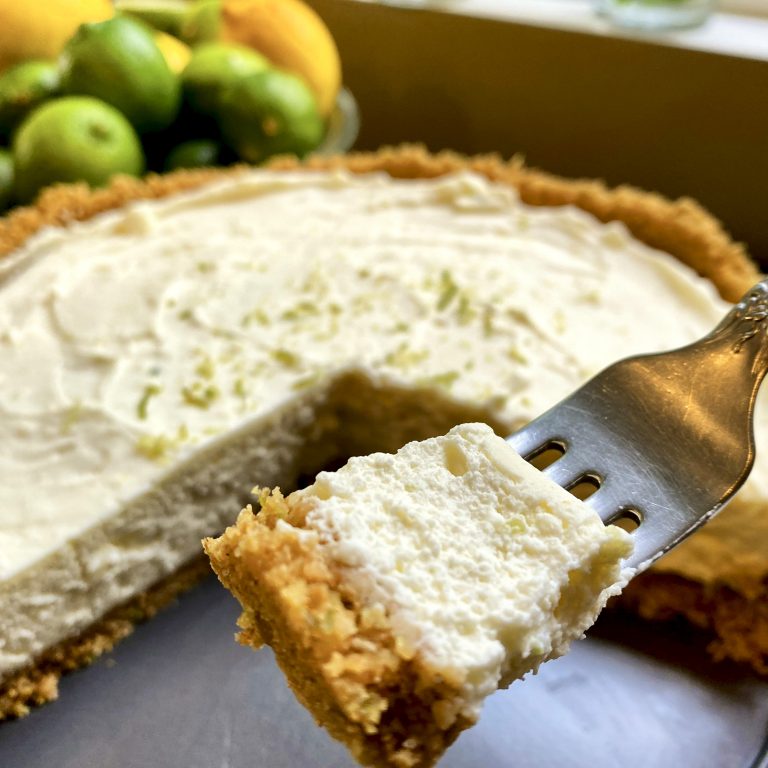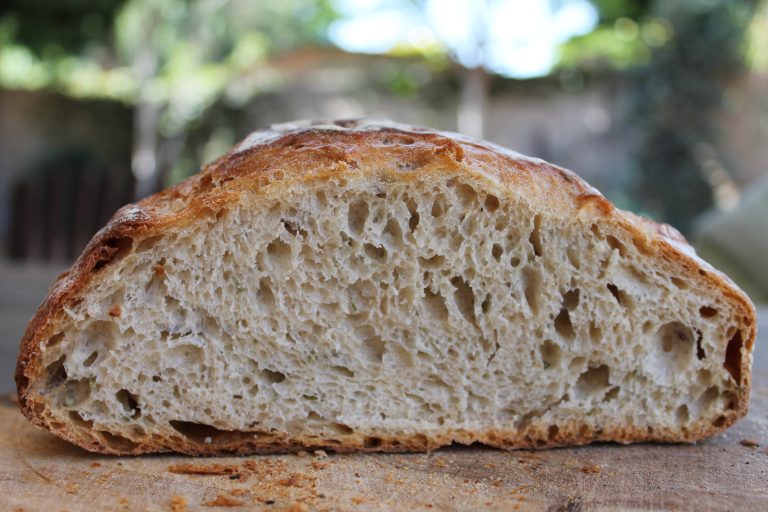
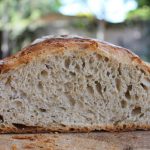
Sourdough Country Bread Loaf
Servings 8
Ingredients
Levain
- 25 grams sourdough starter wild yeast
- 100 grams all-purpose flour organic preferred
- 25 grams whole wheat flour organic preferred
- 125 grams purified water
Final Bread Dough
- 350 grams white bread flour organic preferred
- 50 grams whole wheat flour organic preferred
- 275 grams purified water lukewarm - 100°
- 10 grams Kosher salt or sea salt
- 200 grams sourdough levain that you mixed at the beginning
Instructions
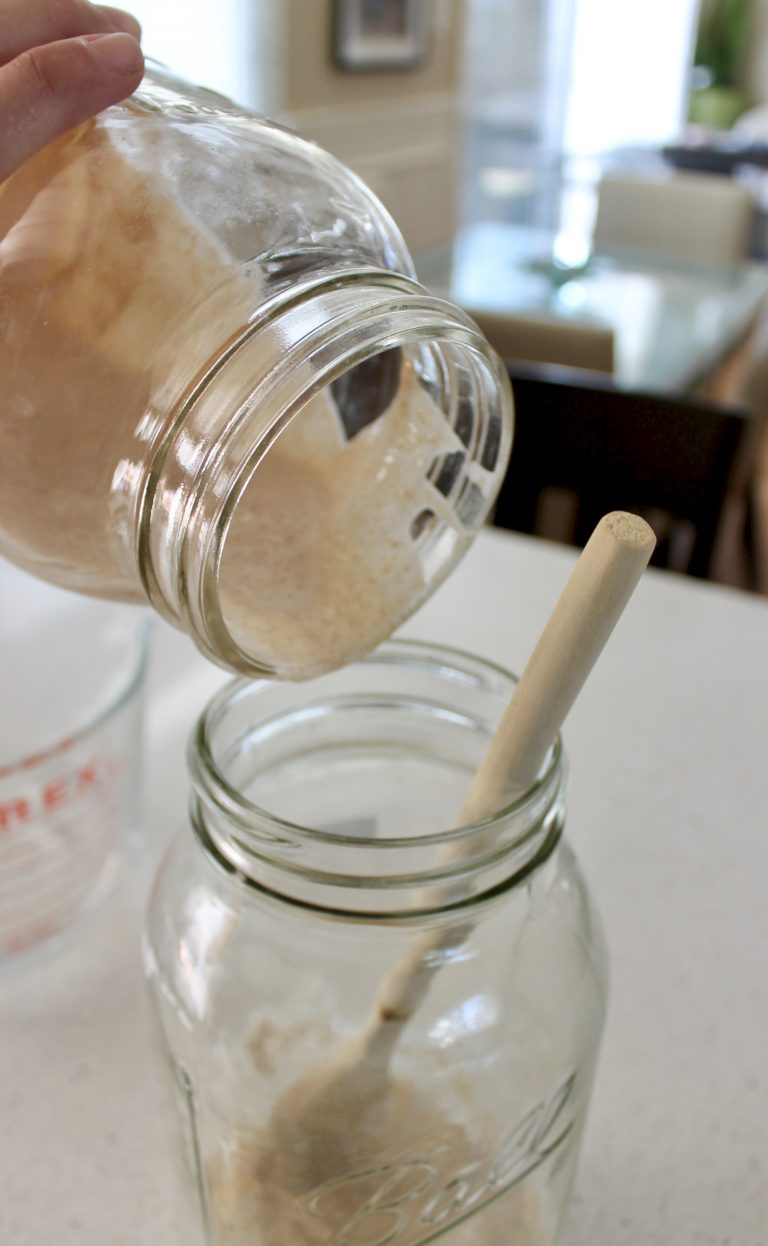
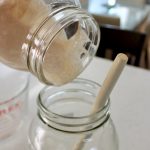
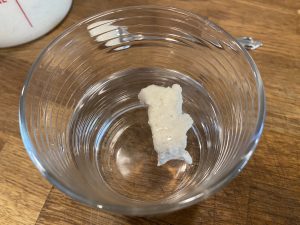
- Early in the morning, at least an hour before you begin making your bread dough, take out 25 grams of your starter and drop it into a clean container. Add 100 grams white bread flour, 25 grams whole wheat flour and 125 grams of purified water. Give it a stir and let it bubble and mingle for at least an hour. This is how you mix your levain.
- Check your levain/starter after about an hour and do a "float" test. Scoop out a spoonful of the yeast and drop it into a cup of water. If it floats to the top, your levain is ready for you to begin mixing your bread dough. If it sinks, WAIT. Check back in another hour to see if it's floaty. Once it floats, proceed to mix your dough.
- Tip: Weigh out flour first into one container. Then weigh out water in a separate container.
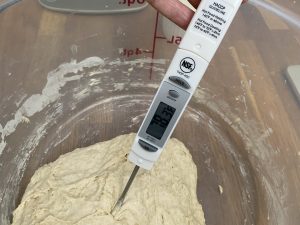
- The dough should be 78° when you are finished mixing. Water is a big factor that will effect final temperature. Use a thermometer to check water and dough temperature. Write down the temp of the water you use so you can adjust it the next time. Target temperature should be 78°.
- Pour 275 grams of water into a mixing container. Add 200g of the levain, (sourdough) that you mixed up earlier, to the water. Use your hand to swirl the sourdough into the water. Break up any clumps and get it totally mixed together in a cloudy water sort of situation.
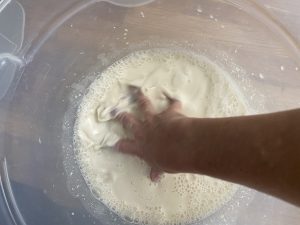
- After sourdough/water is completely mixed, add in the flour and mix with your hand to incorporate. It should resemble a shaggy, slightly wet dough. Once the flour is incorporated let the dough rest for 30 minutes. Do not add the salt yet.
- This 30-minute resting period is called the autolyse. During autolyse the flour absorbs the water and begins to develop dough strength. Set a timer and after thirty minutes, add the salt. If necessary, add a few dribbles of water if the dough is really stiff. Mix with your hand to combine.
- When mixing I use a "pinch and fold" method; pinching or squeezing the dough with my fingers until it becomes longer, like a fat snake. The pinching helps to evenly distribute the salt. Then I fold the dough 4 times and pinch again. Turning the container and folding and pinching, folding and pinching for about 8-10 minutes.
- Check the dough temperature. You want it to be 78°. If it's too warm, place it in the fridge to cool it down for a couple of minutes. If it's too cold put it in a warm place in your kitchen.
- At 78° the dough should take about 3.5 hours to finish its first rise. During those 3.5 hours you will knead the dough every 30-45 minutes. You will do this right inside the container, not on the counter. The dough will get noticeably stronger and more elastic with each fold.
- Folding means taking the ball of dough, stretching it until just before it tears, and folding it back down onto itself. By doing this the dough gets strength and the temperature gets evenly distributed. When folding, work your way around the mixing bowl until you have made a full rotation of the bowl. For me, it is about 4 folds total each time. You should feel the dough becoming less stretchy and more elastic each time you go back to the container to fold it. Ken Forkish has a great video demonstrating this method of folding the dough.
- When the dough has completed its first rise it will have risen about 30% in volume. I use a clear plastic container with measurements on the outside so I can see the dough rise and fall with each fold. You can also put a piece of tape at the dough line so you can see how much rise occurs.
- After about 3-3.5 hours it’s time to shape your dough. Dust your work surface with rice flour (or wheat flour if you do not have any rice flour) and turn the container over, letting the dough release and fall onto the countertop
- Shape the dough into a boule or round by folding just as you did when the dough was in the container. Once you've made a full rotation of folds, flip the dough over using a dough scraper or your hands, and gently work dough into a circular ball shape.
- Remember: Shaping takes years to get really good at. Be patient, it’s easy to get frustrated, but you will get this over time. It takes practice.
- Grab a bowl or basket big enough to hold the loaf. A colander works really well for this too. Line it with a clean lint free kitchen cloth and dust generously with flour. Pick the loaf up and place it into the "basket" you've created, seam side down. The seams will become the top of the loaf once baked and will open naturally as the dough expands.
- Let the dough do a second rise (also called proof) in the fridge.Proofing allows the dough to rise just a bit more and adds flavor. Note: You can proof your basket of dough on the counter for 1 hour, if you want to fast track this loaf and bake it in the same day. Pre-heat your oven to 500° while dough is proofing on the counter. Continue with steps to bake following proof.
- If refrigerating, stick the basket/bowl of dough, kitchen towel and all into a plastic bag to prevent the loaf from drying out or creating a "skin" over the top. Put it in the fridge between 12-24 hours.
- One hour before baking, pre-heat oven to 500°. Use a cast iron or ceramic pot (LeCreuset, Lodge, etc.) to bake your loaf in. I use the combo cooker by Lodge. Put the cast iron pot and lid into the oven. Allow oven and pot to heat for one hour.
- After an hour of pre-heating remove your loaf from the fridge. Dust with flour to avoid any stickiness. Remove pot from oven. (Use oven gloves! The pot gets VERY hot and steamy and it’s easy to get burned. The scars on my forearms are evidence of this.) Keep oven gloves nearby. You are going to pull the pot out of the oven, set it on the stove top, and open it up. Smoke and steam will come out. It's very hot!
- Still wearing the oven gloves, turn out your dough from your proofing bowl/basket into your gloves. The loaf should not stick, if it does, try to remain calm, and gently ease it out. (Make a note to use more flour next time.) Carefully place the loaf into the shallow/lid side of the cast iron pot. Put pot lid back on and put the pot into the oven. Nice job!
- Bake for 25 minutes. After 25 minutes put on your oven gloves and remove the lid of the pot, being VERY careful as steam will, again, come out from underneath. Turn the oven down to 450° and let bread bake another 15 minutes.
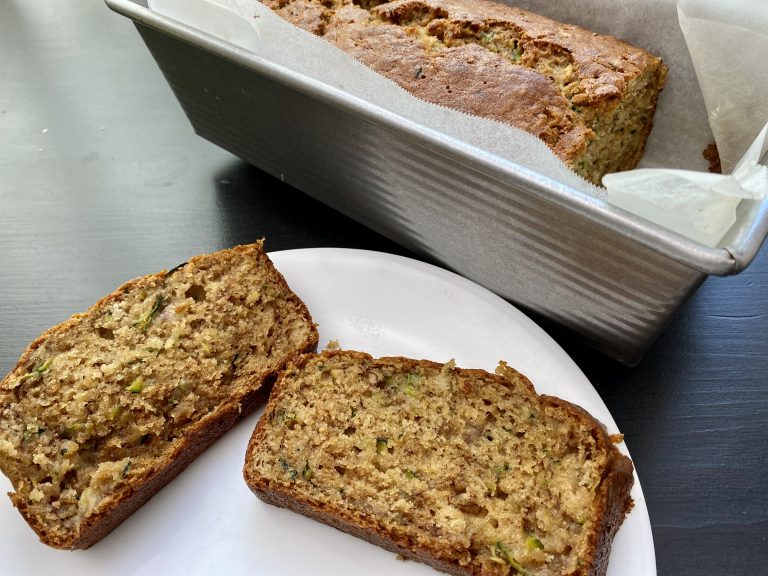
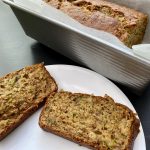
- Each oven is different, so keep your eye on the loaf, checking for color. When the loaf is done it should be dark brown, like dark chocolate. Remove the pot from the oven and place loaf on wire rack to cool.
- Turn that oven off! Tap on the bottom of the loaf. It should sound hollow thudding sound, like a drum.
- Resist the temptation to slice into your loaf to eat it warm. Bread develops even more flavor as it cools. Allow to completely cool for two hours before slicing.
- It's a long process, but you’ll love the taste of the final bread. And you’ll get lots of compliments. If you enjoy it, try it again. Practice makes perfect, if you decide to stick with it. There are TONS of methods and recipes all over the internet to try out. My favorites for learning were Ken Forkish’s book, Flour Water Salt Yeast and the Tartine Cookbook.
- Have fun and happy baking!