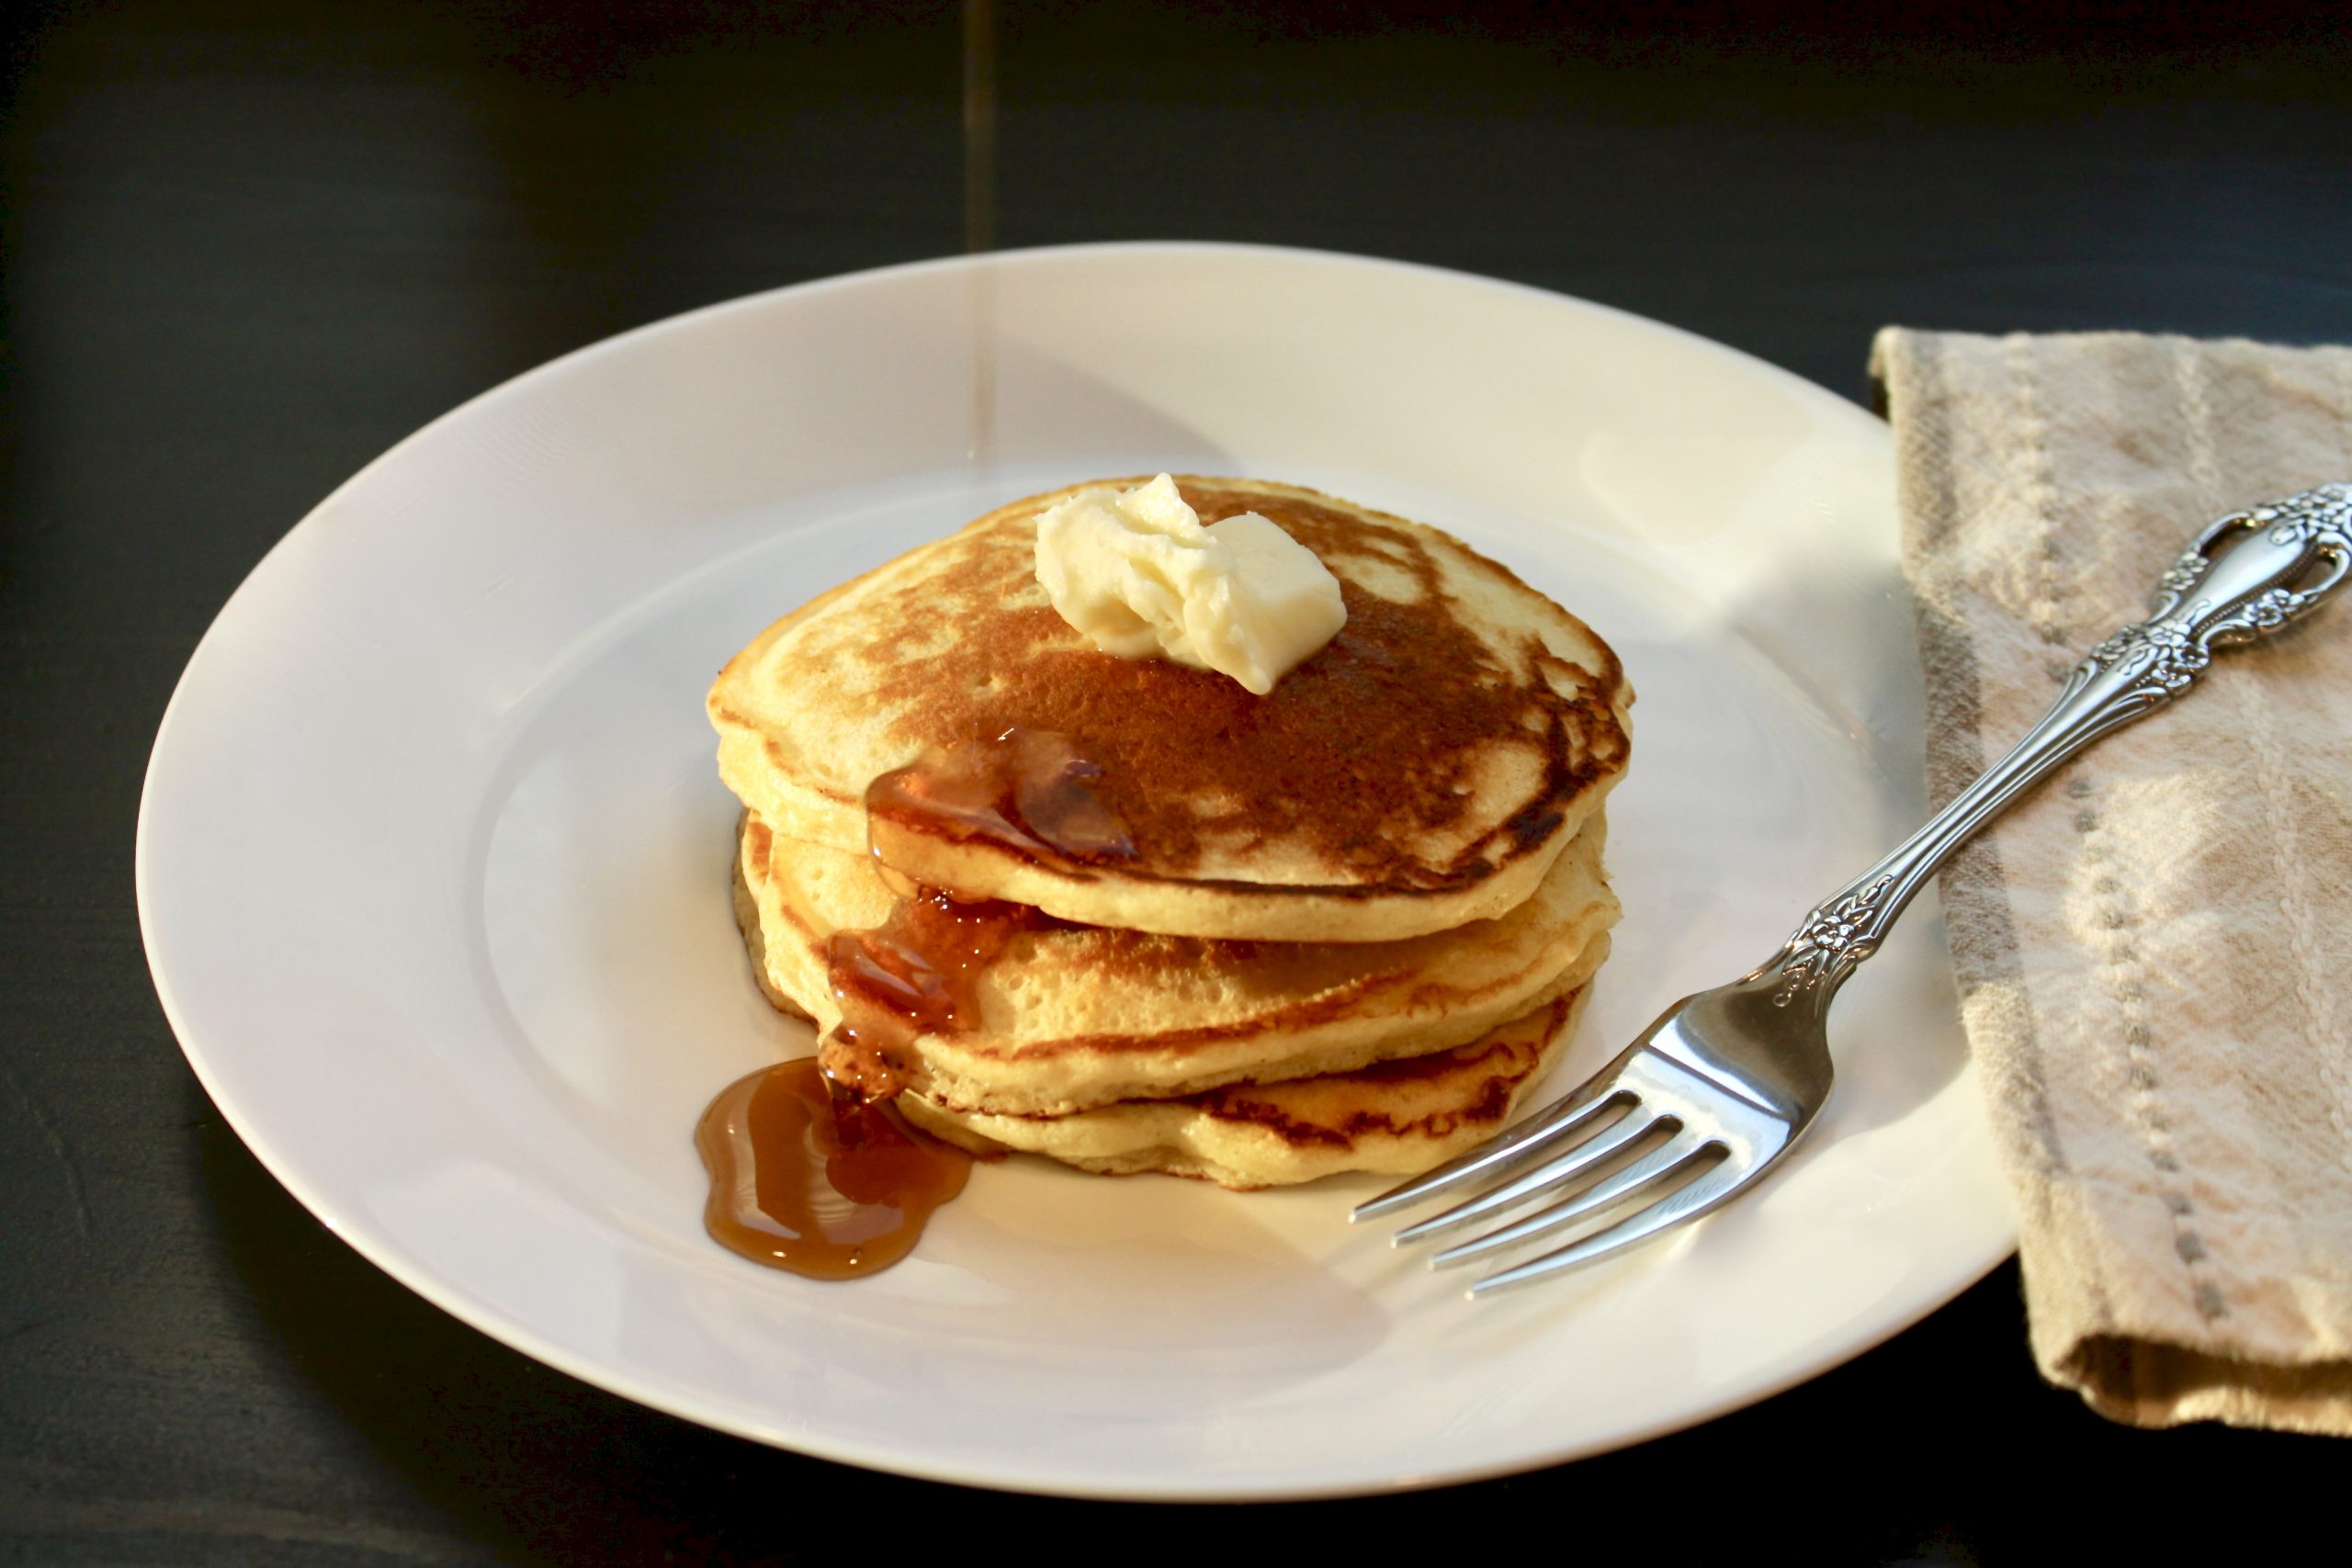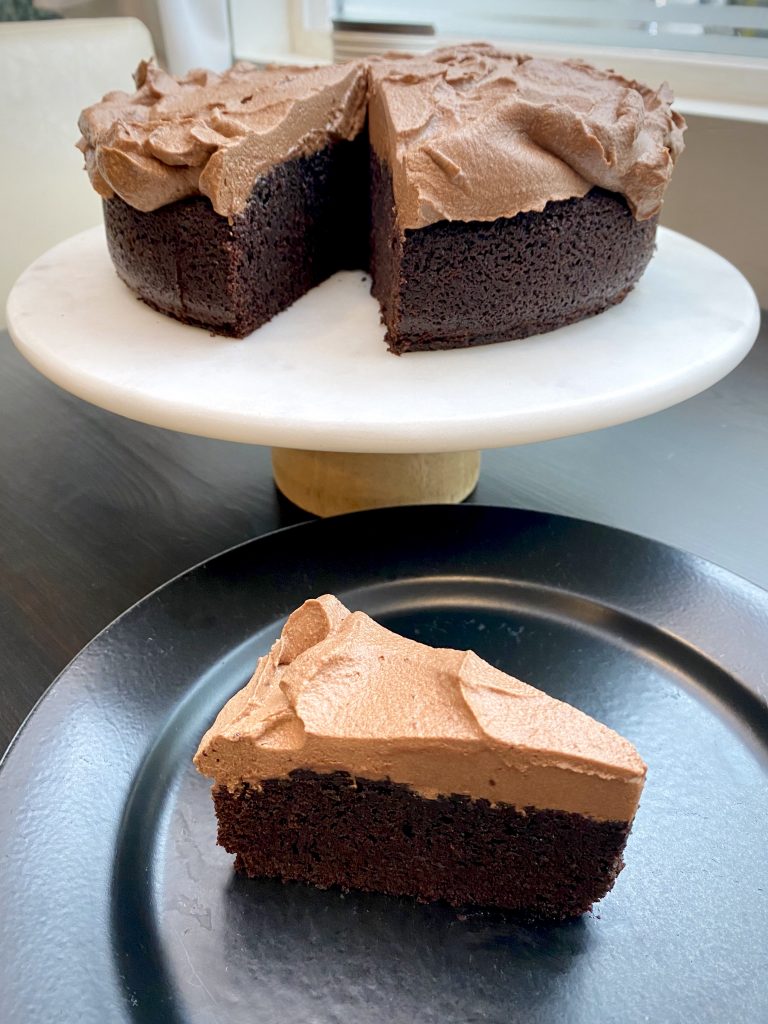
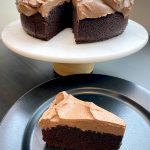
Triple Chocolate Cake with Whipped Chocolate Ganache Frosting
Triple Chocolate Cake with Whipped Chocolate Ganache Frosting. A quick and easy cake recipe with a simple 2-ingredient frosting. It tastes as scrumptious as it looks.
Servings 8
Equipment
- Springform pan
Ingredients
Chocolate Cake
- 1 cup plus 1½ Tbsp unsalted butter at room temperature
- 7 ounces good quality 70% dark chocolate chopped
- 1 cup very strong dark coffee, hot
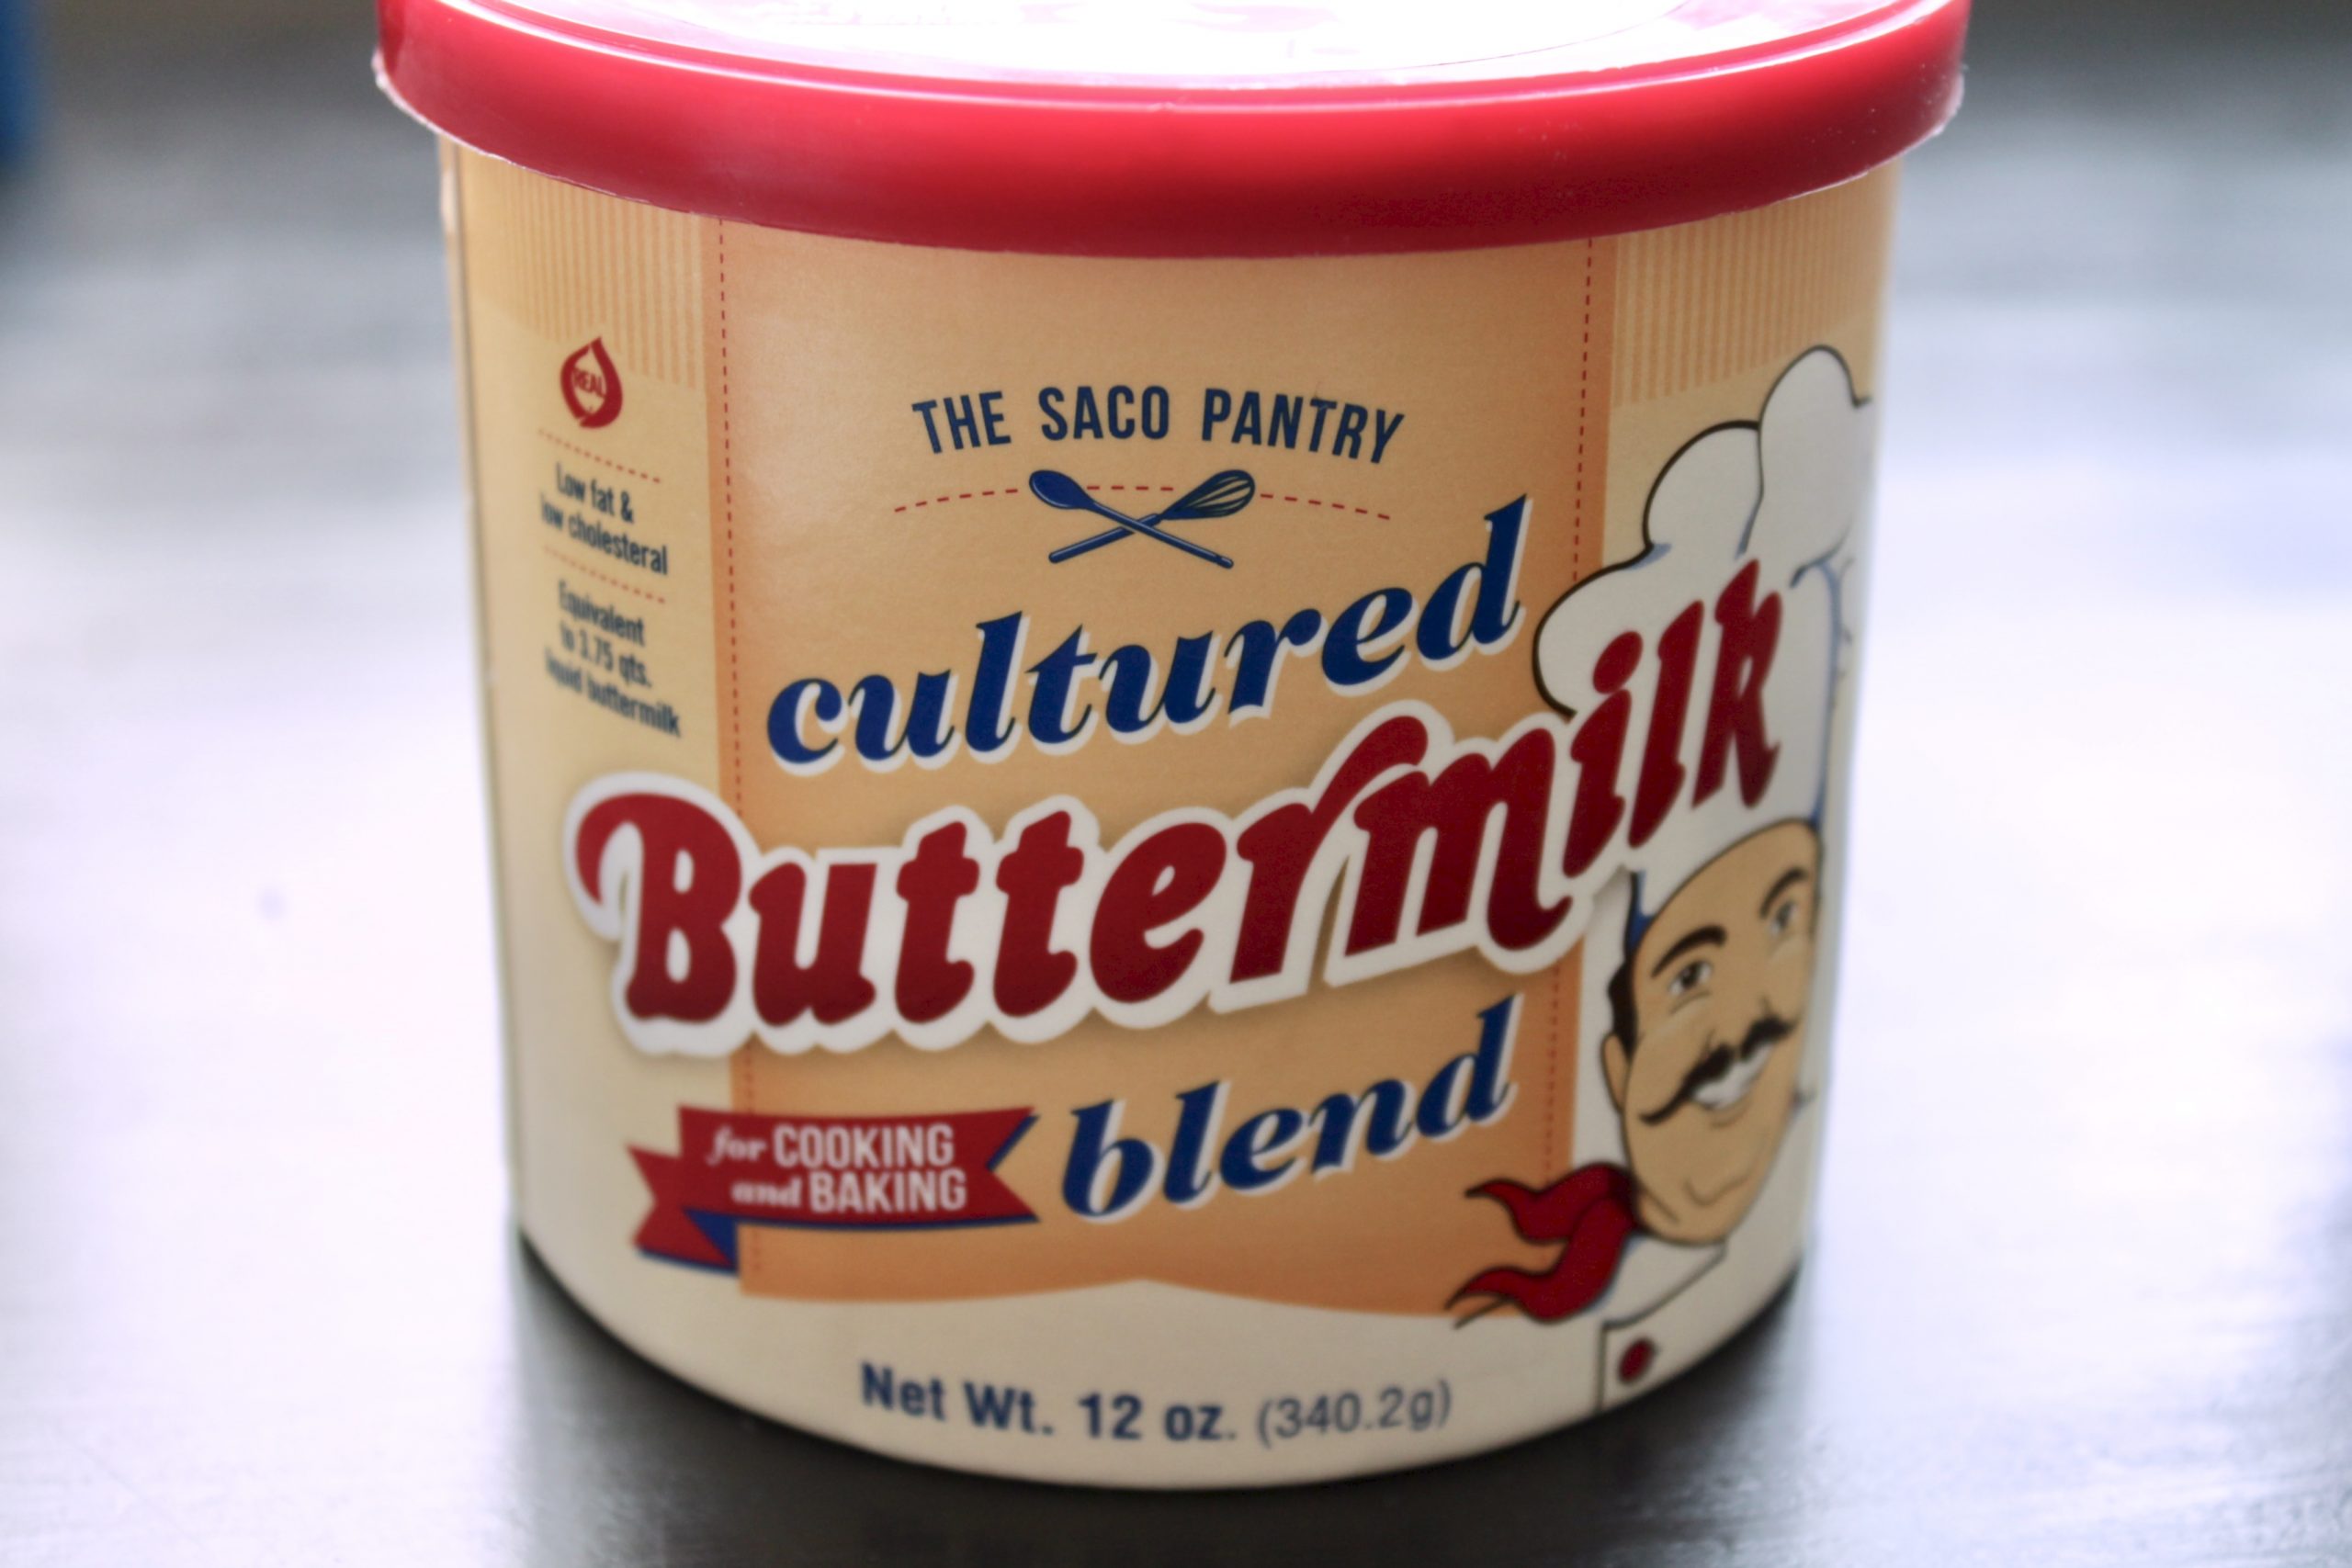
- ½ cup buttermilk
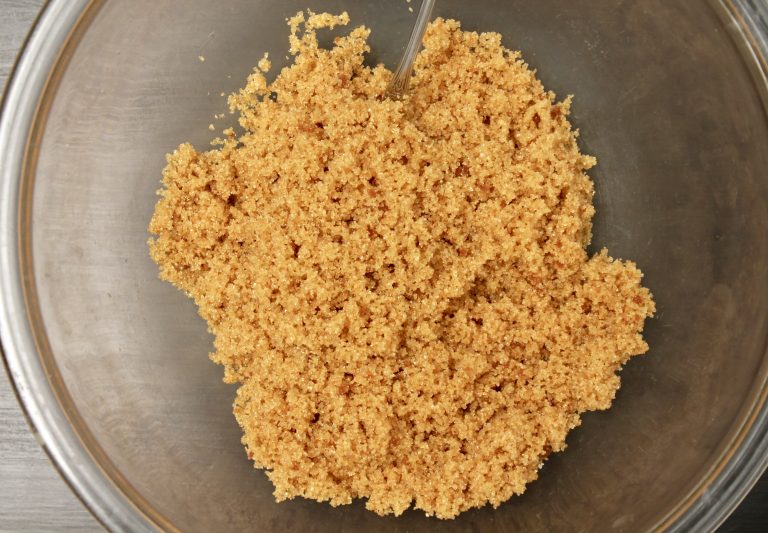
- 1¼ cups sugar
- 2 large eggs, lightly beaten at room temperature
- 2 tsp vanilla
- 2 cups all-purpose flour
- ⅓ cup good quality organic cocoa powder
- ½ tsp baking soda
- 1 tsp baking powder
- 1 tsp Kosher salt
Chocolate Ganache Frosting
- 10 ounces good quality bittersweet chocolate chopped
- 10 ounces heavy whipping cream
- big pinch of Kosher salt
Instructions
- Preheat the oven to 350°. Butter 9-inch round springform pan. Line bottom with a circle of parchment paper, then butter and flour the pan. Set aside.
- Sift flour, salt, baking soda, baking powder and cocoa powder in a bowl and set aside.
- Place butter, chocolate and hot coffee in a large heatproof bowl and mix until chocolate is melted and smooth.
- Stir in sugar and mix by hand until dissolved. Add buttermilk, vanilla and eggs and whisk until thoroughly combined and smooth.
- Whisk the dry ingredients into the the chocolate mixture. The batter will be quite thin at this point.
- Pour the batter evenly into prepared springform pan and bake for 1 hour, until a cake tester/toothpick comes out clean. Cool in the cake for 30 minutes, then turn remove from pan to a cooling rack and let cool completely. (The top will sink a little in the center and may slightly crack. This is OK.)
- If your cake top is rounded, sunken or just not quite flat, use a serrated knofe and slice off a thin layer to flatten the top. Save the sliced off portion, crumble it up and sprinkle over the top of the cake for a yummy topping.
Whipped Ganache Frosting
- Chop the chocolate into small pieces and place in a bowl.
- Pour cream into a saucepan. Heat on medium until cream is just begins to simmer but not boiling.
- Pour the hot cream over the chopped chocolate, add a pinch of salt and let stand for about 3 minutes.
- Whisk from the center of the chocolate/cream mixture beginning with small circles and slowly stirring in larger circles until the mixture is smooth.
- Chill the ganache in the refrigerator for about 1 hour until firm with the consistency of thick peanut butter.
- Put the ganache in the bowl of a stand mixer fitted with a whisk attachment (you can also use a hand mixer) and whip on medium/high speed for about 5 minutes until light and fluffy.
- Using a large bladed cake spatula or rubber spatula, spread the ganache over the cake.